

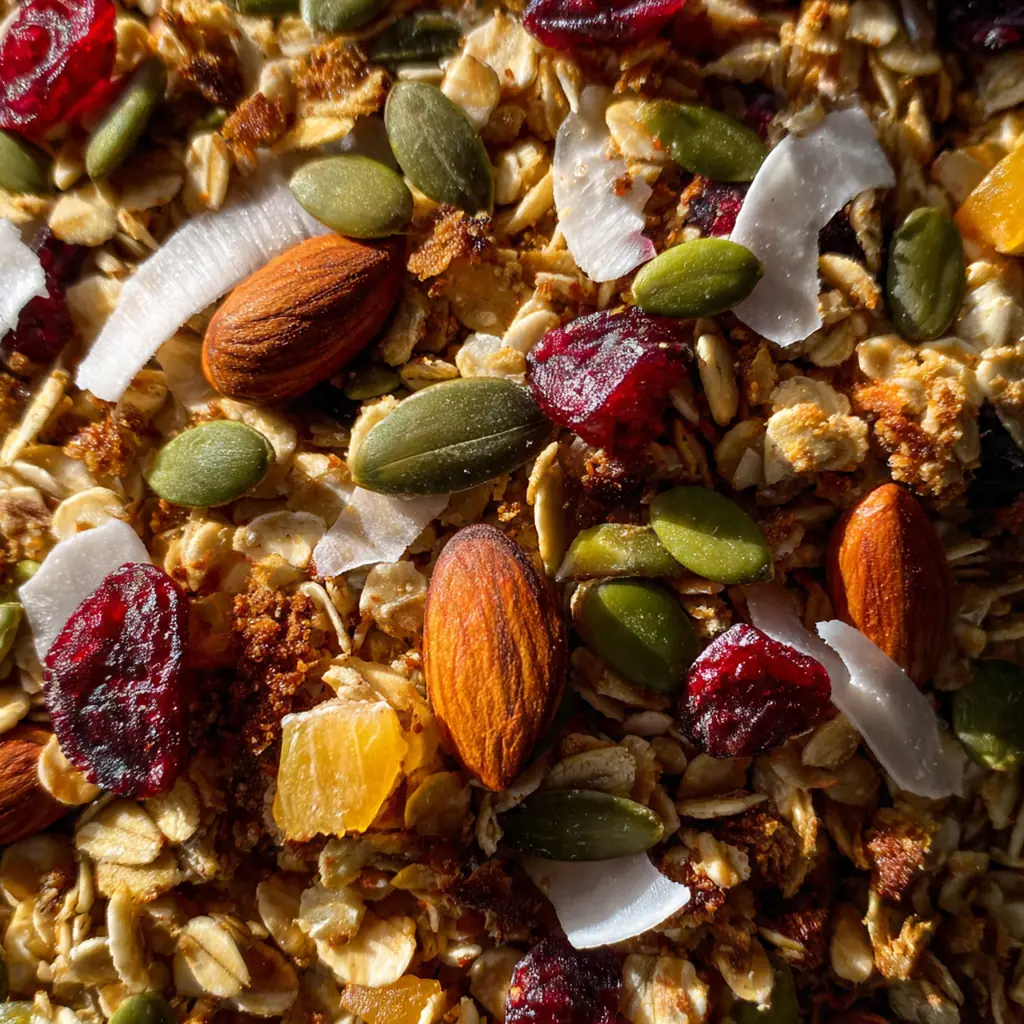
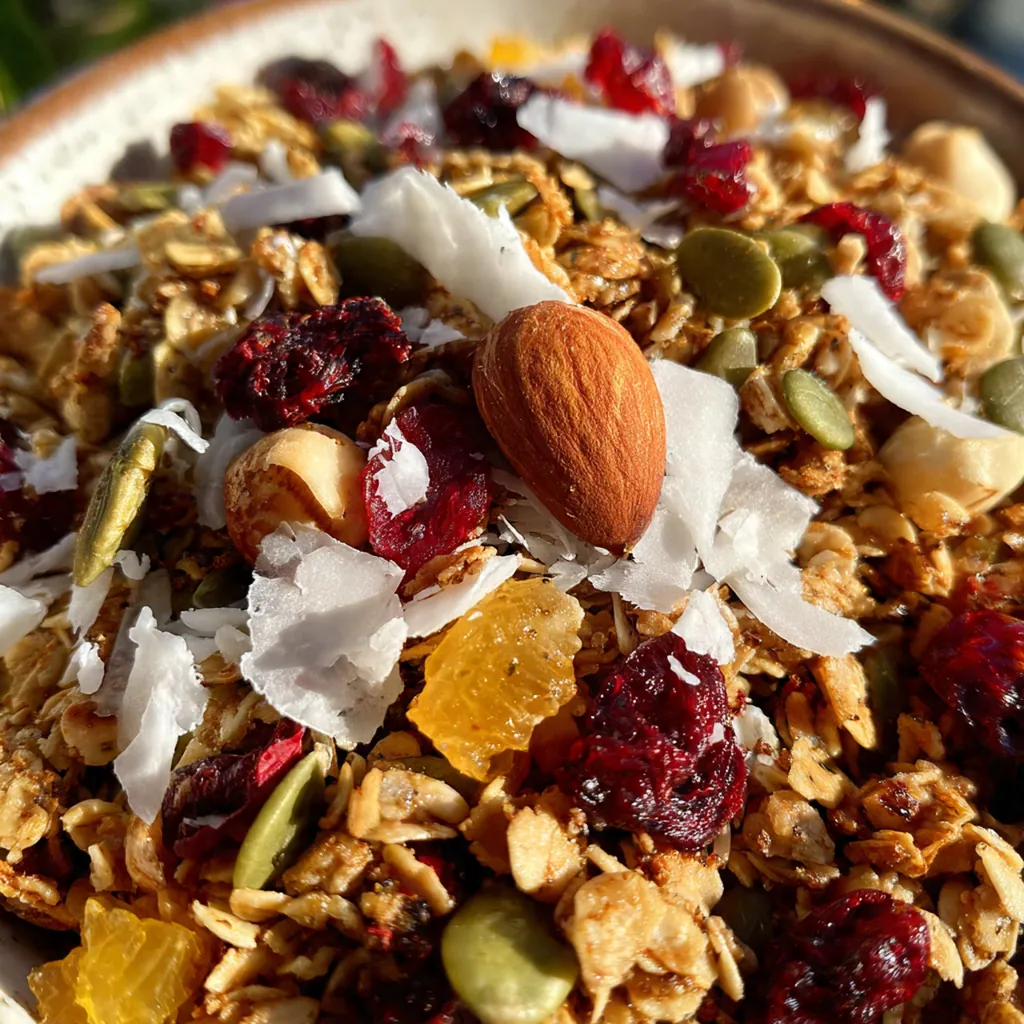
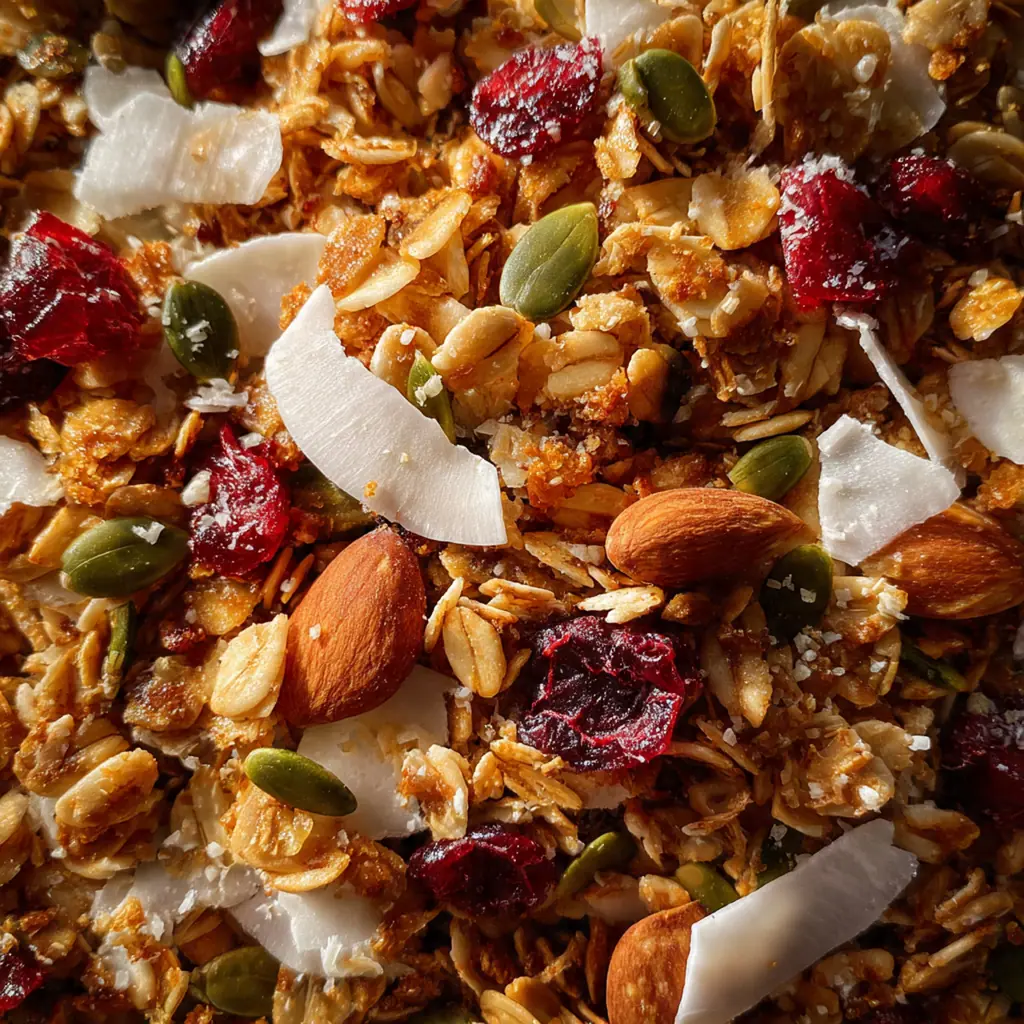
This classic maple almond granola recipe is my go-to for a wholesome, crunchy breakfast that feels like a hug in a bowl. It’s an American staple that combines simple pantry staples with the natural sweetness of maple syrup. I’ve been making this version for years because it’s so forgiving and always turns out perfectly crisp. You’ll love how the cinnamon warmth plays with the toasted nuts and seeds. It’s the kind of homemade treat that makes your kitchen smell incredible and keeps you satisfied all morning.
Why You'll Love This Recipe
- You can toss in whatever nuts and seeds you have in your pantry
- It uses pure maple syrup for a natural sweetness that isn’t too much
- Make a big batch on Sunday and enjoy it all week long
- I eat it straight from the jar more often than I’d like to admit
Ingredients You’ll Need
- Old-fashioned rolled oats: for the classic chewy-crunchy base that holds everything together look for thick-cut oats to avoid getting mushy during baking
- Raw almonds: they add a satisfying crunch and rich flavor chopping them roughly ensures every bite has a nice nutty piece
- Raw walnuts: for a buttery texture and omega-3 boost toasting them in the oven brings out their deep earthy notes
- Raw pumpkin seeds: these little green gems add a pop of color and a subtle savory crunch
- Raw sunflower seeds: for extra protein and a mild nutty flavor that complements the maple perfectly
- Unsweetened shredded coconut: it toasts up golden and adds a tropical hint without extra sugar
- Pure maple syrup: the natural sweetener that coats every cluster and caramelizes beautifully don’t use pancake syrup
- Coconut oil: melted for easy mixing and to help everything crisp up as it cools
- Pure vanilla extract: a dash enhances all the other flavors and adds a warm aromatic note
- Ground cinnamon: just enough spice to make it cozy without overpowering the maple
- Salt: a pinch balances the sweetness and makes all the flavors pop
- Dried cranberries: for a tart chewy contrast stir them in after baking so they stay soft
- Raisins: their natural sweetness and plump texture make the granola feel extra special
How to Make It
Preheat and Prepare:
Start by preheating your oven to 300°F – this lower temperature is perfect for granola because it toasts everything evenly without burning the edges. Line a large rimmed baking sheet with parchment paper or a silicone mat; this not only makes cleanup effortless but also prevents sticking so you get intact clusters. Having everything ready before you mix means the process goes smoothly and quickly.
Combine the Dry Ingredients:
Grab a large mixing bowl and add the rolled oats, chopped almonds, walnuts, pumpkin seeds, sunflower seeds, shredded coconut, cinnamon, and salt. Use a spoon or your hands to toss everything together until it’s uniformly mixed. This ensures that every spoonful of your finished granola will have a balanced mix of textures and flavors, from the hearty oats to the spicy cinnamon.
Whisk the Wet Mixture:
In a separate small bowl, combine the pure maple syrup, melted coconut oil, and vanilla extract. Whisk them vigorously until the mixture is smooth and fully emulsified – you’ll see it thicken slightly as the oil incorporates. This wet blend is what will coat every dry ingredient and create that irresistible caramelized coating during baking.
Coat Everything Thoroughly:
Pour the maple syrup mixture over the bowl of dry ingredients. Using a spatula, stir and fold until every oat, nut, and seed is glistening and evenly coated. Take your time here; you want no dry spots left because that’s what guarantees consistent crunch and flavor in every cluster.
Spread and Press for Clusters:
Dump the coated mixture onto your prepared baking sheet and spread it into an even layer. Now, press down firmly with the back of your spatula or even your hands to compact it – this pressure is the secret to getting those big, satisfying chunks instead of loose granola. Don’t worry about making it too perfect; just aim for a relatively uniform thickness.
Bake with Care:
Place the sheet in the preheated oven and bake for 35 to 40 minutes. Set a timer to stir the granola gently every 10 minutes, bringing the edges toward the center to prevent over-browning. You’ll know it’s done when the entire kitchen smells amazing and the granola has turned a deep, golden brown.
Cool Completely for Crispness:
Once baked, remove the sheet from the oven and let the granola cool completely right on the sheet without stirring. This is non-negotiable for crunch – as it cools, the maple syrup hardens, locking in the crisp texture. Rushing this step by breaking it up warm will result in a softer, less cluster-y granola.
Add Fruits and Break Apart:
After the granola is fully cool, which might take 30 minutes or so, use your hands to break it into clusters of your desired size. If you’re using dried cranberries or raisins, now’s the time to gently fold them in so they stay soft and chewy instead of drying out further in the oven.
Store for Freshness:
Transfer the broken granola into an airtight container. I prefer glass jars because they keep moisture out and let you see the beautiful layers. Stored properly, this granola recipe yields a batch that stays fresh and crunchy for weeks, making your breakfasts instantly better.
You Must Know
- Press the mixture firmly onto the sheet before baking for bigger clusters
- Let it cool completely on the sheet without stirring – patience equals crunch
- Use certified gluten-free oats if you need a strictly gluten-free granola
- I always make a double batch because it disappears so fast
Storage Tips
Keep your completely cooled granola in an airtight container at room temperature, and it’ll stay perfectly crisp for up to two weeks – if it lasts that long in your house. For longer storage, pop it in the fridge where it’ll keep for about a month, or freeze it for up to three months in a freezer-safe bag or container. Just let it come to room temperature before serving to restore that wonderful crunch. I’ve found that a mason jar with a tight lid works wonders for keeping moisture out and freshness in.
Ingredient Substitutions
The beauty of this granola recipe is how easily you can adapt it to what’s in your cupboard. Swap the almonds and walnuts for pecans, hazelnuts, or even just more seeds like flax or chia for a nut-free version. Not a fan of pumpkin seeds? Try sesame seeds instead. If you’re out of maple syrup, honey or agave will work in a pinch, though the flavor will change slightly. And for the dried fruit, chopped apricots, cherries, or even a handful of dark chocolate chips after baking are all fantastic choices.
Serving Suggestions
I love this granola piled high over a bowl of Greek yogurt with fresh berries for a protein-packed breakfast, or simply with cold milk for a classic cereal experience. It’s also incredible sprinkled over oatmeal or smoothie bowls for extra texture, or even as a topping for ice cream. Don’t forget it makes a wonderful homemade gift – just layer it in a pretty jar with a ribbon, and you’ve got a present anyone would appreciate. My personal favorite is eating it by the handful straight from the container when I need a quick energy boost.
Cultural Context
Granola has deep roots in American health food movements, evolving from a dense, baked cereal created in the late 1800s to the crunchy, cluster-filled snack we know today. This version, with its maple syrup and almond focus, feels particularly at home in New England where maple tapping is a tradition. It captures that DIY, back-to-basics ethos of homemade pantry staples that defined so much of American home cooking in the 70s and beyond. Now, it’s a breakfast and snack staple found in kitchens across the country, cherished for its versatility and wholesome ingredients that can be tailored to any taste or diet.
Pro Tips
- For giant clusters, pack the granola down tight on the sheet before baking
- Always let it cool fully on the baking sheet – rushing leads to soggy granola
- Store it in a truly airtight container to lock in that fresh crunch
- My secret is a tiny sprinkle of flaky salt right after it comes out
Frequently Asked Questions
Absolutely. As noted in the ingredients, simply ensure you use certified gluten-free old-fashioned rolled oats. All other ingredients—almonds, walnuts, seeds, coconut, maple syrup, and coconut oil—are naturally gluten-free, making this an easy and delicious gluten-free granola option.
Yes, granola is an excellent make-ahead recipe. Once it has cooled completely, store it in an airtight container at room temperature. Properly stored, your homemade crunchy granola will stay fresh and delicious for up to two weeks, making breakfast prep a breeze.
If you don’t have coconut oil, you can substitute an equal amount of another neutral-tasting oil, such as avocado oil or light olive oil. Melted unsalted butter is also a great option if you don’t need the granola to be dairy-free or vegan.
The granola is done when it turns a deep, fragrant golden brown, which takes about 30-35 minutes. It will still feel soft when you take it out of the oven but will crisp up perfectly as it cools on the baking sheet. For even baking and maximum crunch, make sure to stir it halfway through the cook time.
This crunchy American-style granola is incredibly versatile. Serve it classically with milk or yogurt and fresh berries for breakfast. It also makes a fantastic topping for smoothie bowls, chia pudding, or even as a snack straight from the jar. For a dessert twist, sprinkle it over vanilla ice cream.