

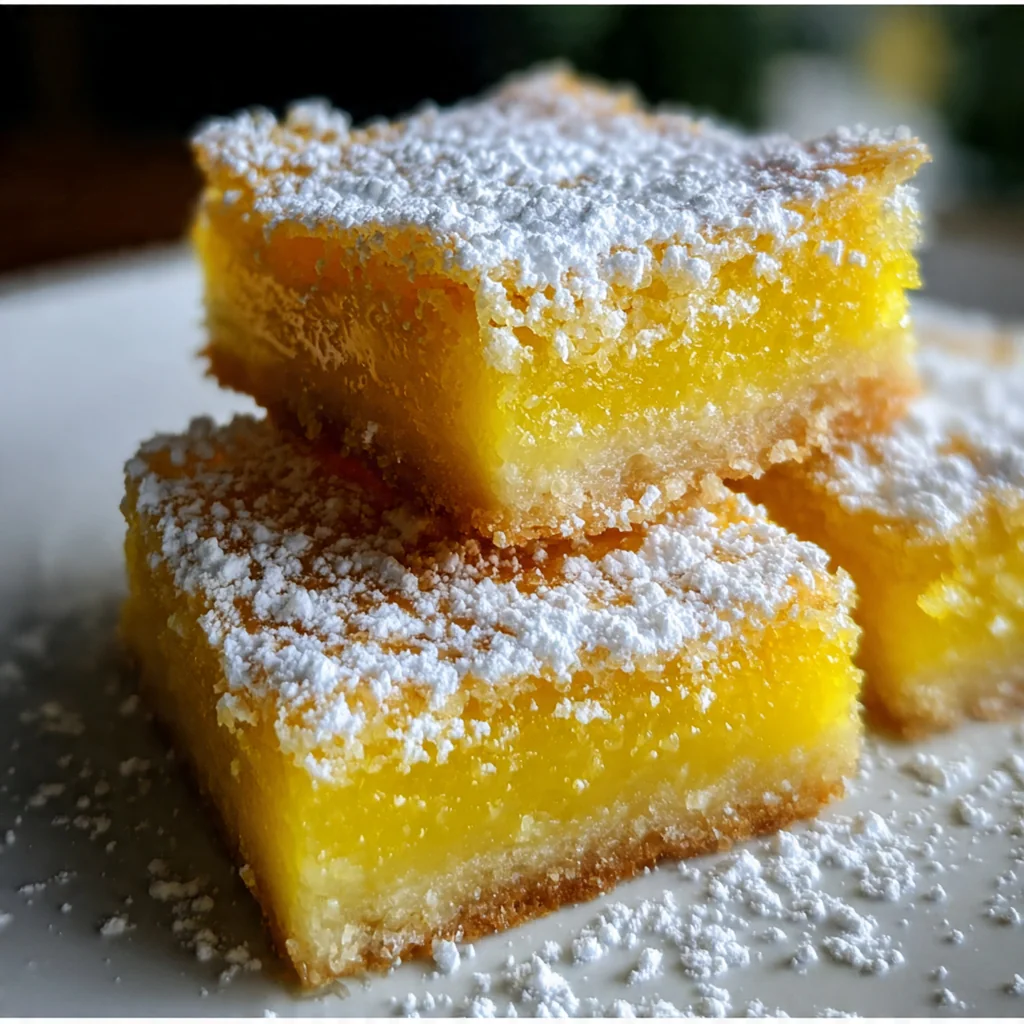
The quest for classic lemon bars that nail the sweet-tart balance ends right here. This American dessert staple has graced potlucks and family gatherings for decades, and it’s all about that perfect contrast. You get a crisp, buttery shortbread foundation topped with a velvety, intensely citrus layer. It’s a timeless recipe that uses simple ingredients to create something truly spectacular, and I’ve tweaked it to ensure foolproof results every single time.
Why You'll Love This Recipe
- The buttery, crumbly crust is the perfect textural counterpoint to the smooth filling
- Fresh lemon juice and zest give an unbeatable, vibrant citrus kick that bottled juice just c…
- They’re make-ahead friendly and actually taste better after a good chill in the fridge
- You likely have all the pantry staples on hand for an impressively elegant dessert
- I’ve never brought these to a party without someone asking for the recipe
Ingredients You’ll Need
- Unsalted butter: for rich flavor and controlling saltiness in the crust, truly softened butter creams easily for a tender base
- Granulated sugar: sweetens both the crust and the filling, using fine sugar ensures it dissolves completely for a smooth texture
- All-purpose flour: forms the structure of the crust and helps thicken the filling, I always fluff mine before measuring
- Salt: a tiny bit enhances all the other flavors and balances the sweetness perfectly
- Large eggs: they give the filling its creamy, custardy body and help it set firmly in the oven
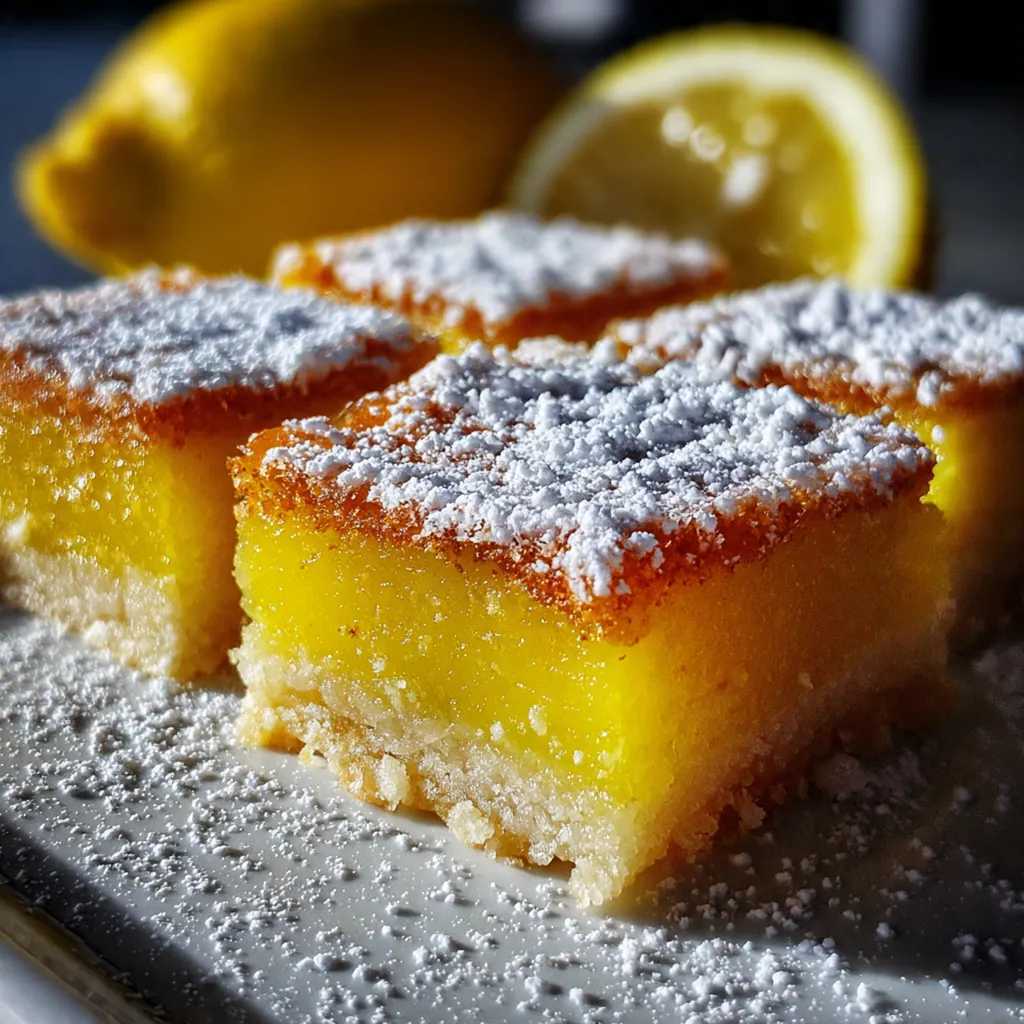
- Freshly squeezed lemon juice: this is non-negotiable for the brightest flavor, bottled juice will taste flat and metallic
- Lemon zest: the aromatic oils in the zest pack a powerful citrus punch, I zest my lemons before juicing them
- Baking powder: gives the filling a very slight lift, creating a pleasant texture without making it cakey
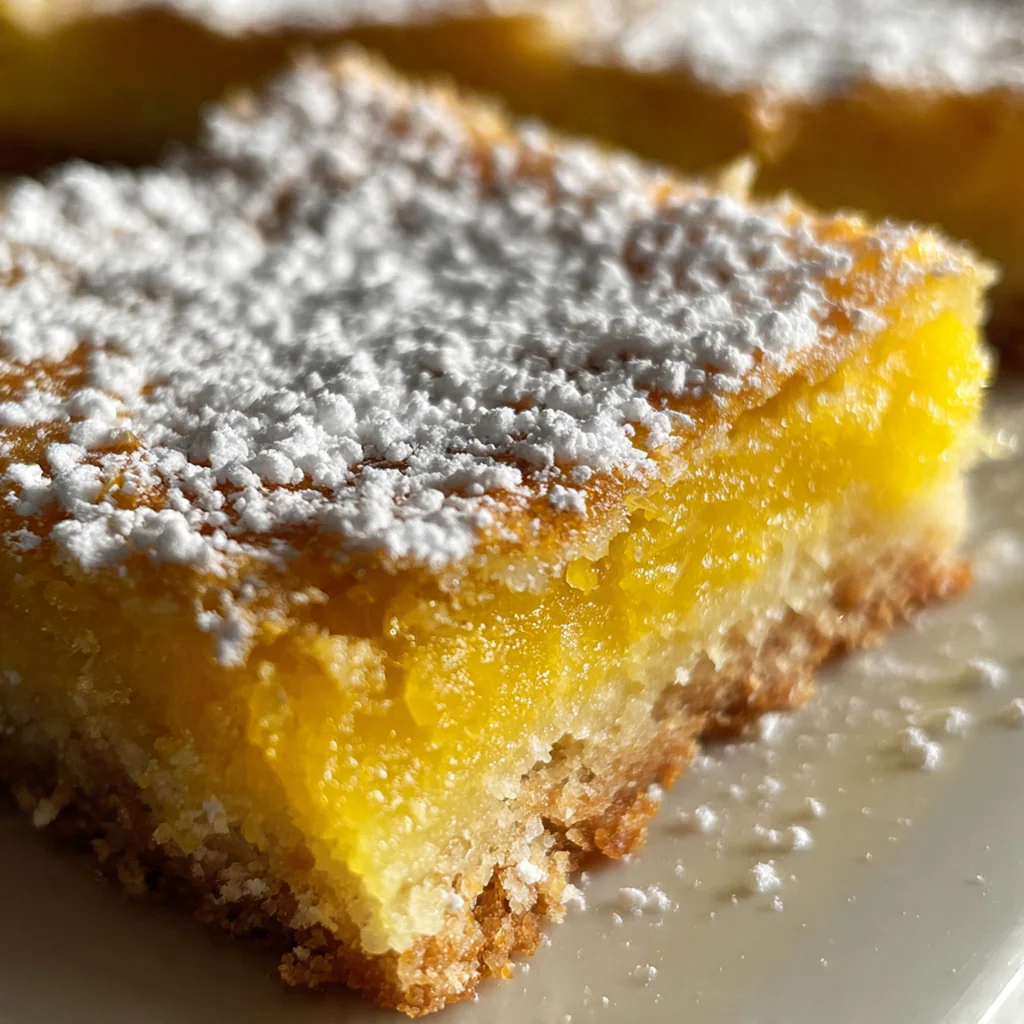
- Confectioners’ sugar: the final snowy dusting that adds sweetness and a beautiful finished look, also called powdered sugar
How to Make It
Preheat and Prepare Your Pan:
Start by preheating your oven to 350°F and lining a 9×13-inch pan with parchment paper, leaving an overhang on two sides. This liner is your best friend for cleanly lifting out the whole slab of lemon bars later. You’ll thank yourself when it’s time to slice.
Make the Shortbread Crust:
In a large bowl, cream the softened butter and the half cup of sugar together until it’s light and fluffy. Gradually mix in the two cups of flour and salt just until a soft dough forms. Don’t overwork it, or the crust can become tough.
Press and Pre-Bake:
Dump the crumbly dough into your prepared pan and press it firmly into an even layer. I use the bottom of a flat glass to compact it smoothly. Bake this for 18-20 minutes until the edges just start to turn golden, then pull it out but leave the oven on.
Whisk Together the Filling:
While the crust bakes, grab a clean bowl and whisk the eggs with the remaining two cups of sugar. You want it smooth and slightly thickened. Whisk in the third cup of flour and the baking powder until no lumps remain, then slowly stream in the fresh lemon juice and zest.
Pour and Bake Again:
Once your crust is out of the oven, immediately pour the lemon filling over the warm base. Tilt the pan gently to help it spread evenly to all the edges. Carefully return the pan to the oven and bake for 22-25 minutes until the filling is set with no jiggle in the center.
Cool and Chill Completely:
This is the most crucial step for perfect slices. Let the pan cool on a wire rack until it reaches room temperature. Then, transfer it to the refrigerator and chill for at least two hours. This firms everything up so you won’t have a gooey mess when cutting.
Lift, Dust, and Slice:
Use the parchment paper overhangs to lift the entire block of lemon bars onto a cutting board. Generously dust the top with confectioners’ sugar. For super clean cuts, dip a sharp knife in hot water, wipe it dry, and slice. Wipe the blade clean between each cut for pristine squares.
You Must Know
- Fresh lemon juice is absolutely essential for the best flavor
- Your butter must be properly softened for an easy-to-press crust
- Chilling the bars before cutting is non-negotiable for clean edges
- The powdered sugar dusting is best done right before serving
- I always zest my lemons before juicing them, it’s so much easier
Storage Tips
Store your lemon bars in an airtight container in the refrigerator, where they’ll stay perfect for up to five days. Hold off on the final dusting of confectioners’ sugar until just before you serve them, as it tends to dissolve into the moist filling over time. If you want to freeze them, wrap individual bars tightly in plastic wrap and pop them into a freezer bag for up to three months, then thaw overnight in the fridge.
Ingredient Substitutions
For a gluten-free version, you can use a trusted 1:1 all-purpose gluten-free flour blend in both the crust and the filling with great results. If you need to avoid dairy, a high-quality vegan butter substitute can work for the crust, though the flavor and texture might vary slightly from the original. There’s really no good substitute for the fresh lemon juice and zest, as bottled juice lacks the bright, vibrant acidity that makes these lemon bars so special.
Serving Suggestions
I love serving these lemon bars straight from the fridge with a hot cup of Earl Grey tea or a strong coffee to contrast the citrus sweetness. For a fancier look, add a tiny dollop of barely sweetened whipped cream or a single fresh raspberry on top of each square. They’re also incredible alongside a scoop of vanilla bean ice cream for a simple, crowd-pleasing dessert that lets the lemon flavor shine.
Cultural Context
Lemon bars are a beloved classic in American baking, often appearing at bake sales, church socials, and holiday gatherings where their sunny color and tangy flavor provide a welcome break from richer, heavier desserts. Their roots are in the lemon curd and shortbread traditions of British baking, transformed into a simple, portable bar cookie that’s uniquely easy to make for a crowd. Their enduring popularity speaks to that perfect combination of a rich, buttery base and a puckery-sweet topping that feels both nostalgic and refreshingly modern.
Pro Tips
- Zest your lemons first, then juice them, it’s infinitely easier
- Use a microplane for the finest zest that melts right into the filling
- A light golden crust is the goal, don’t let it get too dark
- If a thin skin forms on the filling while baking, the powdered sugar will hide it
- I run my knife under hot water for the cleanest possible slices every time
Frequently Asked Questions
For the brightest flavor, freshly squeezed lemon juice is highly recommended. Bottled juice often lacks the vibrant, tart punch of fresh lemons and can result in less flavorful lemon bars. Since the juice and zest are the stars, fresh is best.
Absolutely! These lemon bars are perfect for making ahead. The flavors meld and improve after chilling. Simply bake, cool completely, dust with powdered sugar, and store covered in the refrigerator for up to 3 days.
The confectioners’ sugar adds a classic finishing touch and a bit of extra sweetness. If you don’t have it, a light sprinkle of granulated sugar can work, though it won’t dissolve the same way. Alternatively, you can serve them plain for a slightly less sweet, more intense lemon experience.
The lemon bars are done when the filling is fully set and no longer jiggles in the center when you gently shake the pan. The top should be lightly golden. It will firm up significantly as it cools, so don’t overbake looking for a firm texture in the oven.
These classic American lemon bars are delightful on their own. For a special touch, serve with a dollop of whipped cream, fresh berries, or a scoop of vanilla ice cream. They pair wonderfully with coffee or tea for an afternoon treat.