

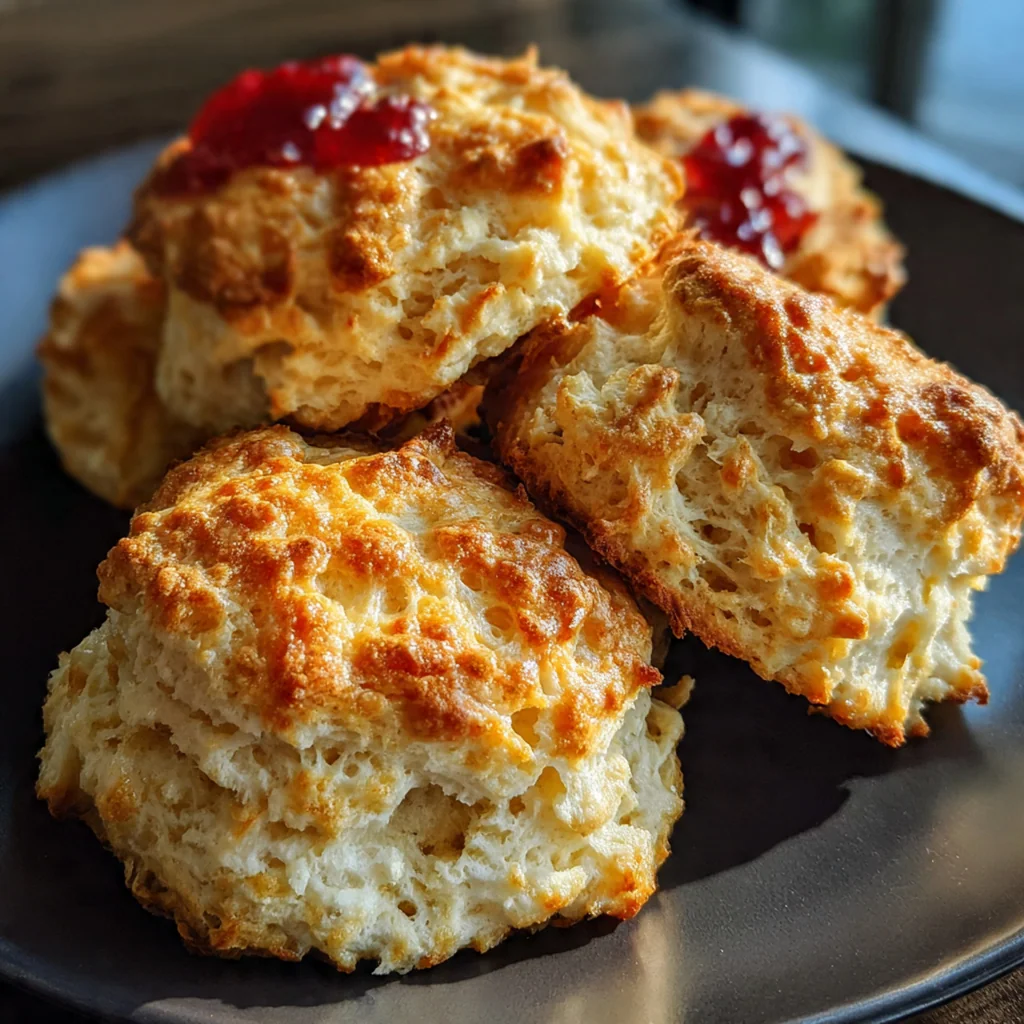
This classic biscuit recipe is the cornerstone of comfort food for a very good reason. It gives you tender, flaky layers and a golden-brown crust that honestly puts any store-bought version to shame. As a quintessential American staple, its magic lies in the simple, pantry-staple ingredients and a technique that’s easier than you think. Once you master this method, you’ll have a quick, reliable side for any meal that feels truly homemade.
Why You'll Love This Recipe
- You can go from zero to fresh-baked biscuits in just 30 minutes
- It uses basic ingredients you almost certainly already have on hand
- That simple folding technique creates unbelievably flaky, tender layers every time
- You can easily customize them with cheese, herbs, or a bit of garlic
- I promise you’ll never want a canned biscuit again
Ingredients You’ll Need
- All-purpose flour: the foundation of your biscuit structure, it provides the right amount of gluten for structure without toughness, always measure by spooning and leveling for accuracy.
- Baking powder: this is your main leavening agent, responsible for that classic rise and lift, make sure yours is fresh for the best results.
- Granulated sugar: just a touch balances the flavors and aids in browning, it won’t make the biscuits sweet.
- Salt: essential for enhancing all the other flavors in your biscuit recipe, don’t skip it.
- Baking soda: reacts with the acidic buttermilk to give an extra boost of rise and a tender crumb.
- Cold unsalted butter: the key to flakiness, as the solid pieces create steam pockets during baking, always keep it cold.
- Cold full-fat buttermilk: its tangy flavor is iconic, and the acidity tenderizes the dough while reacting with the baking soda.
- Melted butter: brushed on top before baking, it gives the biscuits that gorgeous, golden-brown crust we all love.
- Fresh chopped chives or parsley: an optional add-in for savory biscuits that brings a pop of color and fresh flavor.
How to Make It
Preheat and Prepare Your Pan:
Start by heating your oven to 450°F and lining a baking sheet with parchment or a silicone mat. This high heat is crucial for that rapid rise and golden top, and the lining makes cleanup a breeze.
Combine Your Dry Ingredients:
In a large bowl, whisk together the flour, baking powder, sugar, salt, and baking soda. You want everything evenly distributed so every bite of your biscuit is perfectly seasoned and rises uniformly.
Cut In the Cold Butter:
Add your cold, cubed butter to the bowl. Use a pastry cutter or your fingertips to work it into the flour until the mixture looks like coarse crumbs with some pea-sized butter bits remaining. Those visible butter pieces are your ticket to flaky layers.
Add the Buttermilk and Mix:
Make a well in the center of your flour mixture and pour in the cold buttermilk. Stir gently with a fork just until a shaggy dough forms. Overmixing is the enemy of tender biscuits, so stop as soon as no dry flour remains.
Fold to Create Layers:
Turn the dough onto a lightly floured surface and gently pat it into a one-inch thick rectangle. Fold it in half, then pat it down again. Repeat this folding process two or three more times; this builds those beautiful, distinct flaky layers.
Cut Out Your Biscuits:
Using a floured 2.5-inch round cutter, press straight down into the dough without twisting. Gather the scraps, pat them together gently, and cut out more biscuits. You should get about eight total.
Brush and Bake:
Place the biscuits on your prepared sheet about an inch apart. Brush the tops generously with the melted butter. This gives them that irresistible color and flavor. Bake for 12 to 15 minutes until they’re puffed and golden brown.
Cool Briefly and Serve:
Take the biscuits out of the oven and let them cool on the sheet for about five minutes. This lets them set slightly so they don’t fall apart when you split them open to reveal all those steamy, flaky layers.
You Must Know
- Keep every ingredient as cold as possible for maximum flakiness
- Handle the dough gently and as little as possible to avoid toughness
- Never twist the biscuit cutter when cutting them out
- That quick folding technique is the secret to incredible layers
- My family fights over the last one every single time
Storage Tips
Store any leftover biscuits in an airtight container at room temperature for up to two days. For longer storage, you can freeze them tightly wrapped in plastic and then sealed in a freezer bag for about a month. To reheat, just pop them in a 350°F oven for 5 to 10 minutes until they’re warmed through and regain their crisp exterior; the microwave will make them tough and chewy, so I always avoid it.
Ingredient Substitutions
If you’re out of buttermilk, make a quick version by stirring one tablespoon of lemon juice or white vinegar into a cup of regular milk and letting it sit for five minutes until it thickens slightly. For a dairy-free biscuit, use a high-quality plant-based butter and a non-dairy milk with that same acid trick. To make this biscuit recipe gluten-free, just swap the all-purpose flour for a trusted one-to-one gluten-free blend that includes xanthan gum for structure.
Serving Suggestions
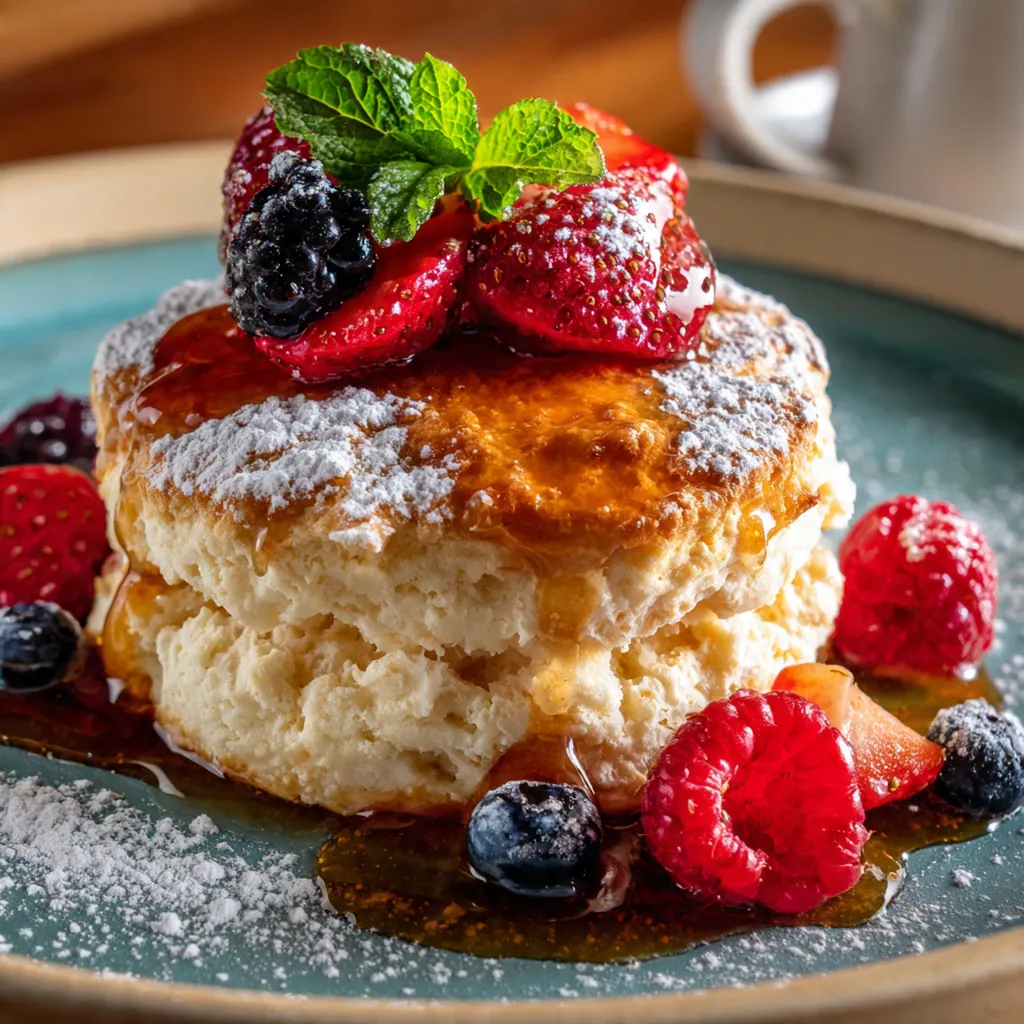
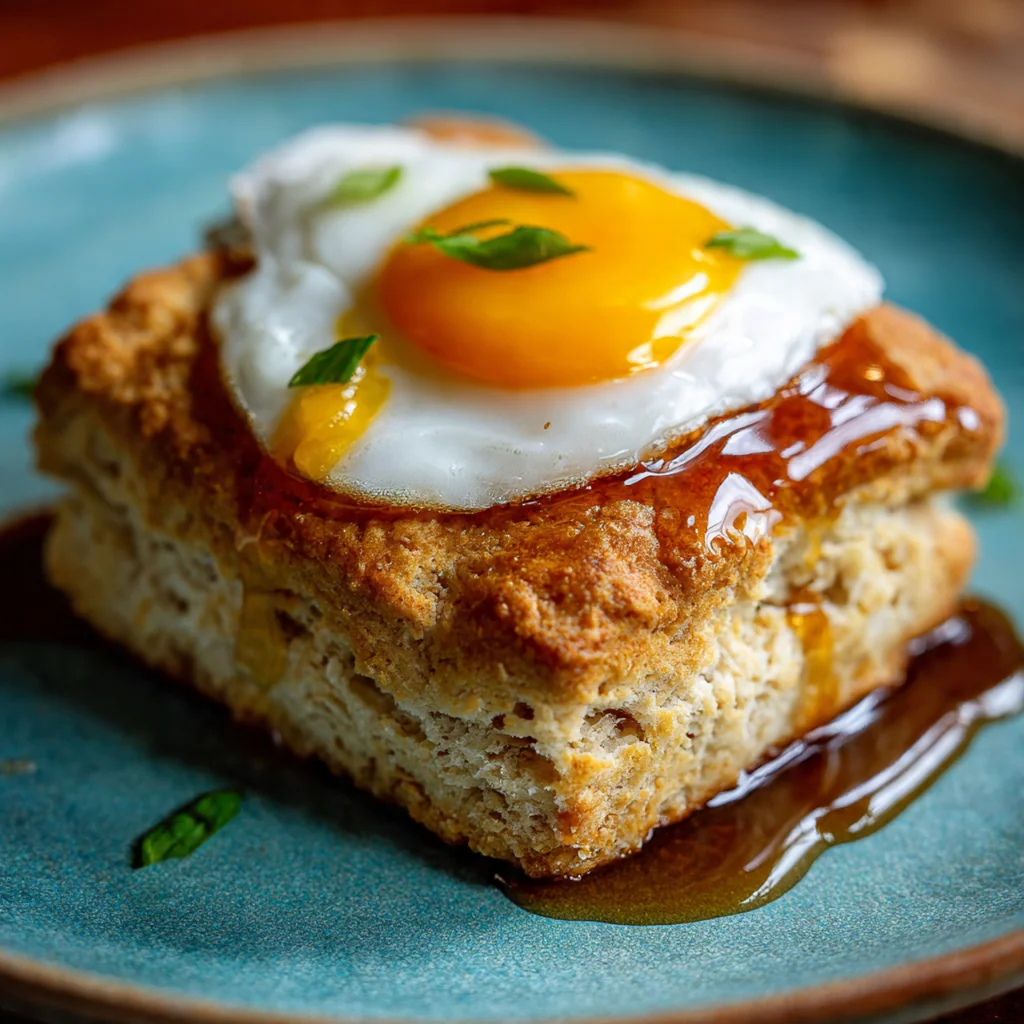
These biscuits are incredibly versatile. For breakfast, I love them warm with a generous smear of butter and a drizzle of honey or my favorite jam. They’re absolutely classic smothered in a creamy sausage gravy or served alongside a bowl of chicken noodle soup. Don’t forget they make the perfect base for a hearty breakfast sandwich with a fried egg and a slice of sharp cheddar cheese.
Cultural Context
This biscuit recipe is deeply rooted in American, and particularly Southern, culinary tradition where it was a daily bread long before sliced loaves were common. Its beauty lies in its simplicity and resourcefulness, transforming just a few humble pantry staples into something truly special. The technique of cutting in cold butter and using buttermilk speaks to a time of making do with what you had, creating incredible texture and flavor from the most basic ingredients. Today, it remains a beloved symbol of home cooking and comfort across the country.
Pro Tips
- For ultimate flakiness, chill your mixing bowl and pastry cutter in the freezer first
- Place the biscuits close together on the pan so they support each other’s rise
- If your dough feels too sticky when patting, just dust your hands with a bit more flour
- Letting them cool for five minutes makes them easier to split without crumbling
- I always double the batch because they disappear so fast
Frequently Asked Questions
For the flakiest biscuits, all-purpose flour is the best choice. It provides the right balance of protein to create tender layers. Avoid using cake flour or bread flour for this recipe.
Yes, you can prepare the dough and cut out the biscuits, then freeze them on a baking sheet. Once frozen, transfer to a bag and bake from frozen, adding a few extra minutes to the baking time.
If you don’t have buttermilk, you can make a quick substitute by adding 1 tablespoon of lemon juice or white vinegar to 1 cup of milk. Let it sit for 5 minutes until it curdles slightly, then use the required amount.
The biscuits are done when they have risen and turned a beautiful golden brown on top, which takes about 15 minutes. You can also check by inserting a toothpick; it should come out clean.
These classic American biscuits are versatile. Serve them warm with butter and jam for breakfast, alongside fried chicken for dinner, or with gravy for a Southern-style brunch.