

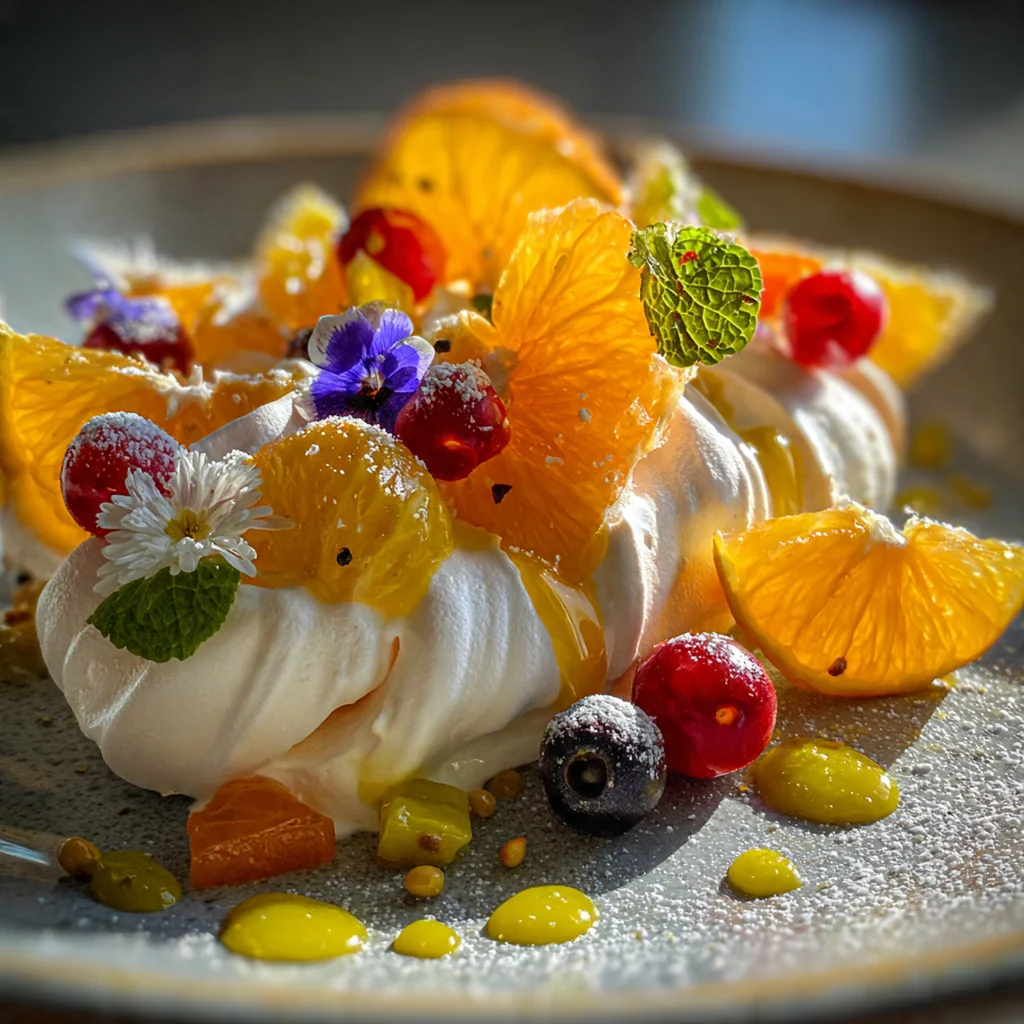
This classic meringue dessert, the pavlova, is a stunning centerpiece that always steals the show at my dinner parties. Originating from the friendly rivalry between New Zealand and Australia, its magic lies in the incredible contrast between a crisp shell and a soft, marshmallow-like center. It’s surprisingly simple to master, relying on just a few pantry staples for a result that feels incredibly special. The combination of billowy cream and fresh fruit makes it a light, celebratory treat that everyone adores.
Why You'll Love This Recipe
- It looks incredibly impressive but uses simple ingredients you likely have
- You get that magical contrast of crisp shell and soft, chewy center every time
- It’s naturally gluten-free, making it a perfect dessert for a crowd
- Most of the work is hands-off baking and cooling in the oven
- I promise it’s easier than it looks and always gets a wow
Ingredients You’ll Need
- Large egg whites at room temperature: They whip up to a much greater volume when they’re not cold, giving you that tall, stable meringue base you need.
- Superfine sugar: This fine sugar dissolves completely into the egg whites, creating a smooth, glossy meringue without any gritty texture.
- Cornstarch: It’s the secret stabilizer that gives the pavlova its signature soft, marshmallow-like interior once it’s baked and cooled.
- White vinegar: A little acid helps stabilize the meringue and contributes to that lovely crisp exterior we all love.
- Pure vanilla extract: It adds a warm, sweet depth of flavor that complements the berries and cream perfectly.
- Fine sea salt: Just a pinch balances the sweetness and enhances all the other flavors in the meringue.
- Heavy whipping cream, cold: Cold cream whips up faster and holds its shape better, creating those perfect billowy clouds on top.
- Powdered sugar: It dissolves instantly into the cream for sweetness without any graininess, and it helps stabilize the whipped cream a bit.
- Fresh strawberries, hulled and sliced: Their sweet-tart flavor and beautiful red color are essential for that classic, vibrant berry mix.
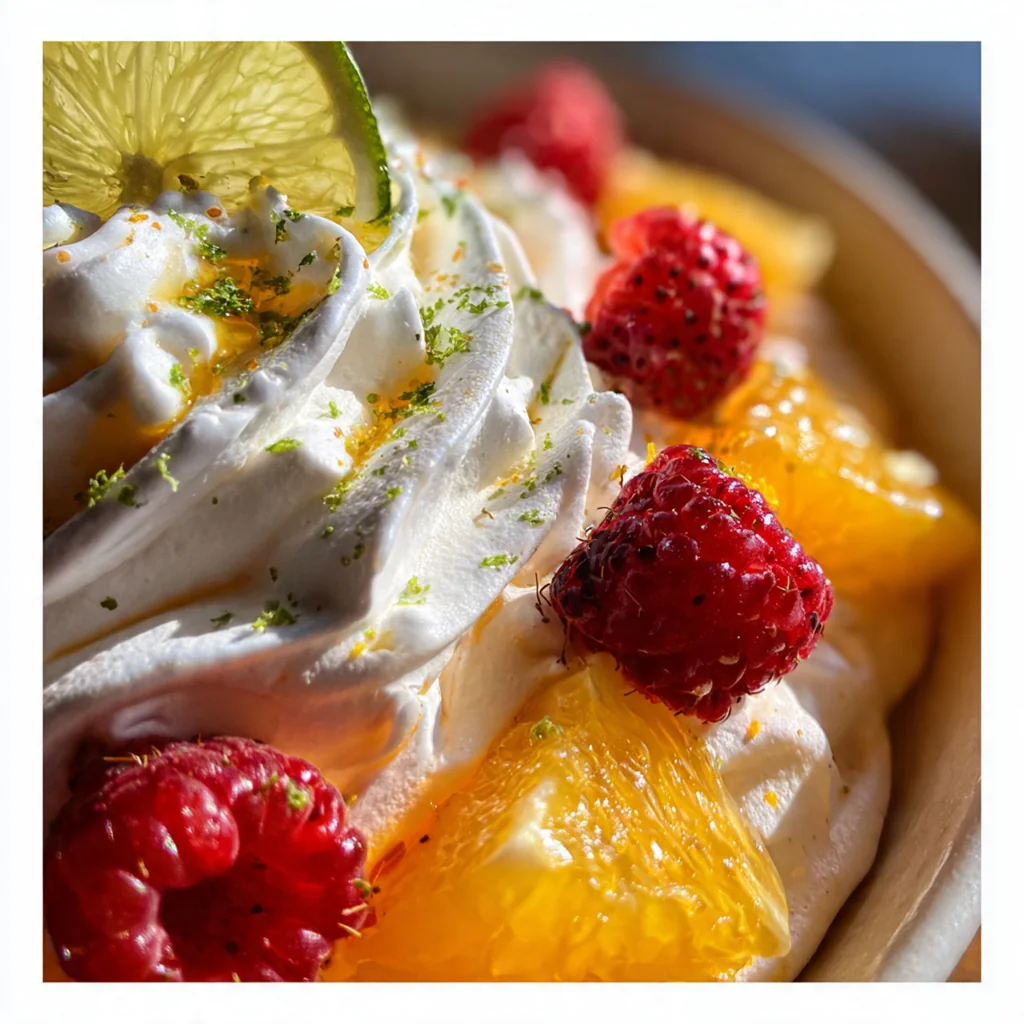
- Fresh raspberries: These add a pop of bright acidity and a beautiful texture that contrasts with the soft cream.
- Fresh blueberries: They bring a lovely deep color and a juicy burst to every single bite.
- Fresh mint leaves for garnish: A few leaves add a fresh, aromatic finish that makes the whole dessert look restaurant-worthy.
- Kiwi fruit: This optional add-on brings a tangy green pop and a different texture that pairs wonderfully with the berries.
- Passionfruit pulp: Drizzling this over the top adds an incredible tropical tang that cuts through the sweetness beautifully.
- Shaved white chocolate: A little sprinkle adds a hint of creamy sweetness and makes for a gorgeous, elegant presentation.
How to Make It
Prepare Your Baking Canvas:
Start by preheating your oven to 250°F and lining a large baking sheet with parchment paper. Trace a nine-inch circle on the paper, then flip it over so the pencil mark is underneath—this gives you a perfect guide without any lead touching your meringue.
Whip the Egg Whites to Soft Peaks:
In the impeccably clean bowl of your stand mixer, combine the egg whites and that pinch of salt. Beat them on medium speed until they turn frothy and form soft peaks that droop when you lift the whisk; this takes about three to four minutes and sets the stage for the sugar.
Incorporate the Sugar for Stiff Peaks:
With the mixer running on medium-high, begin adding the superfine sugar one tablespoon at a time, letting each spoonful fully dissolve before adding the next. You’ll know you’re done when the meringue is thick, glossy, and holds stiff, upright peaks—this patience is what builds the structure.
Fold in the Final Touches:
Sprinkle the cornstarch, vinegar, and vanilla over your gorgeous meringue. Use a gentle hand and a rubber spatula to fold them in until just combined; overmixing here can deflate all the air you just worked so hard to incorporate.
Shape the Pavlova Nest:
Pile all the meringue onto the center of your traced circle. Use a spatula or the back of a spoon to spread it out to the edges, building up the sides to form a nest with a well in the middle—this is where all the cream and fruit will go later.
Bake and Cool Slowly:
Bake for one hour and thirty minutes until the outside is dry and crisp to the touch. Turn off the oven, prop the door open with a wooden spoon, and let the meringue cool completely inside for at least two hours; this slow cooldown is non-negotiable to prevent tragic cracking.
Whip the Cream Topping:
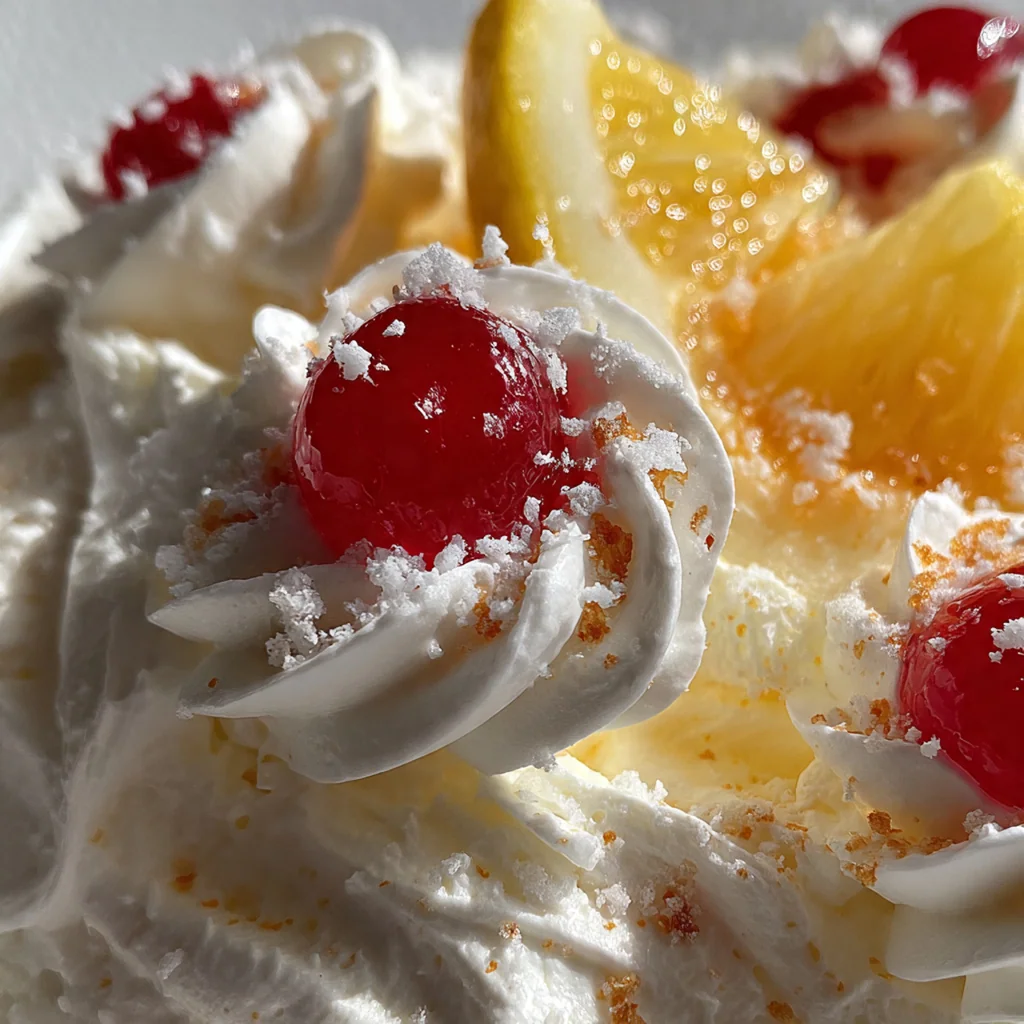
Just before serving, take your cold heavy cream and powdered sugar and whip them together in a chilled bowl until you have medium-stiff peaks. Chilling everything first helps the cream whip up faster and hold its shape beautifully on the meringue.
Assemble with Care:
Carefully transfer your cooled meringue base to a serving platter. Spoon the whipped cream into the center nest, then artfully arrange all your fresh strawberries, raspberries, and blueberries over the top. Finish it all off with a garnish of fresh mint leaves for that final touch.
Slice and Serve Immediately:
Use a serrated knife and a gentle sawing motion to slice your beautiful creation. Serve it right away to enjoy that perfect contrast of crisp shell, soft center, and fresh, cold cream and berries.
You Must Know
- Superfine sugar is key for a smooth, non-gritty meringue
- Your mixing bowl must be completely free of any grease
- Letting it cool slowly in the oven prevents cracks
- Assemble it right before you serve for maximum crispness
- It’s my go-to dessert when I need something truly show-stopping
Storage Tips
Your unfilled meringue base is the real star for make-ahead magic—once it’s completely cool, store it in an airtight container at room temperature for up to two days, away from any humidity. If you have leftovers after assembling (a rare event in my house!), cover the whole pavlova loosely and refrigerate it, but plan to enjoy it within 24 hours as the shell will soften from the cream and fruit. I don’t recommend freezing the assembled dessert, but you can absolutely freeze the bare meringue base for up to a month in an airtight container; just let it thaw at room temperature before you dress it up.
Ingredient Substitutions
If you can’t find superfine sugar, just pulse regular granulated sugar in a food processor for about thirty seconds until it feels finer—it makes a world of difference. For the berries, use whatever looks best at the market; blackberries, sliced peaches, or even mango work wonderfully when they’re in season. If you’re out of cornstarch, an equal amount of white vinegar or lemon juice can help with stability, though the interior might be slightly less marshmallowy. A dairy-free whipped coconut cream can stand in for the heavy cream in a pinch, and a splash of lemon juice or cream of tartar can replace the white vinegar if needed.
Serving Suggestions
I love serving this pavlova as the grand finale to a summer barbecue or a festive holiday meal—it’s light enough after a big feast but feels incredibly special. It’s also perfect for a celebratory afternoon tea, paired with a pot of Earl Grey or a cup of strong coffee to balance the sweetness. For a real treat, offer a glass of sparkling wine or a sweet dessert wine alongside; the bubbles and acidity cut through the richness of the cream and meringue beautifully, making every bite sing.
Cultural Context
The pavlova’s origins are a delightful point of friendly contention between New Zealand and Australia, both claiming this iconic meringue dessert as their own. It’s widely believed to have been created in the 1920s or 1930s in honor of the Russian ballerina Anna Pavlova during her tours of the region, mimicking the lightness and elegance of her tutu. This dessert has become a cherished staple at celebrations across both countries, from Christmas lunches to summer picnics, symbolizing a love for simple, high-quality ingredients transformed into something spectacular. Its gluten-free nature, relying on whipped egg whites and sugar, also made it a clever and inclusive dessert option long before it was a modern dietary consideration.
Pro Tips
- Avoid making this on a humid or rainy day
- Let the meringue cool completely in the turned-off oven
- Use room temperature egg whites for maximum volume
- Fold the cornstarch and vinegar in gently at the end
- It’s the one dessert I’m always asked to bring
Frequently Asked Questions
Superfine sugar (also known as caster sugar) is ideal because it dissolves quickly into the egg whites, creating a smooth, stable meringue. Granulated sugar can be used if pulsed in a food processor to a finer texture, but superfine ensures the crispest shell and softest center for your meringue dessert.
Absolutely. The baked meringue shell can be stored in an airtight container at room temperature for up to 2 days. For the best texture and presentation, whip the cream and assemble with fresh berries just before serving so the shell stays crisp and the berries remain vibrant.
You can use thawed frozen berries, though they may release more juice. For a different twist, try passionfruit pulp (a classic Pavlova topping in New Zealand), sliced kiwi, or a drizzle of lemon curd. The contrast of sweet meringue with tart fruit is what makes this dessert so special.
The meringue is done when the outside is crisp and firm to the touch, and it lifts easily from the parchment paper. The center should still feel slightly soft when gently pressed. It will continue to firm up as it cools slowly in the turned-off oven, creating that perfect marshmallow texture inside.
This meringue dessert is a complete showpiece on its own. For a true New Zealand/Australian experience, serve it after a barbecue or a light summer meal. A glass of dessert wine or a cup of strong coffee makes a perfect accompaniment to balance the sweetness.