


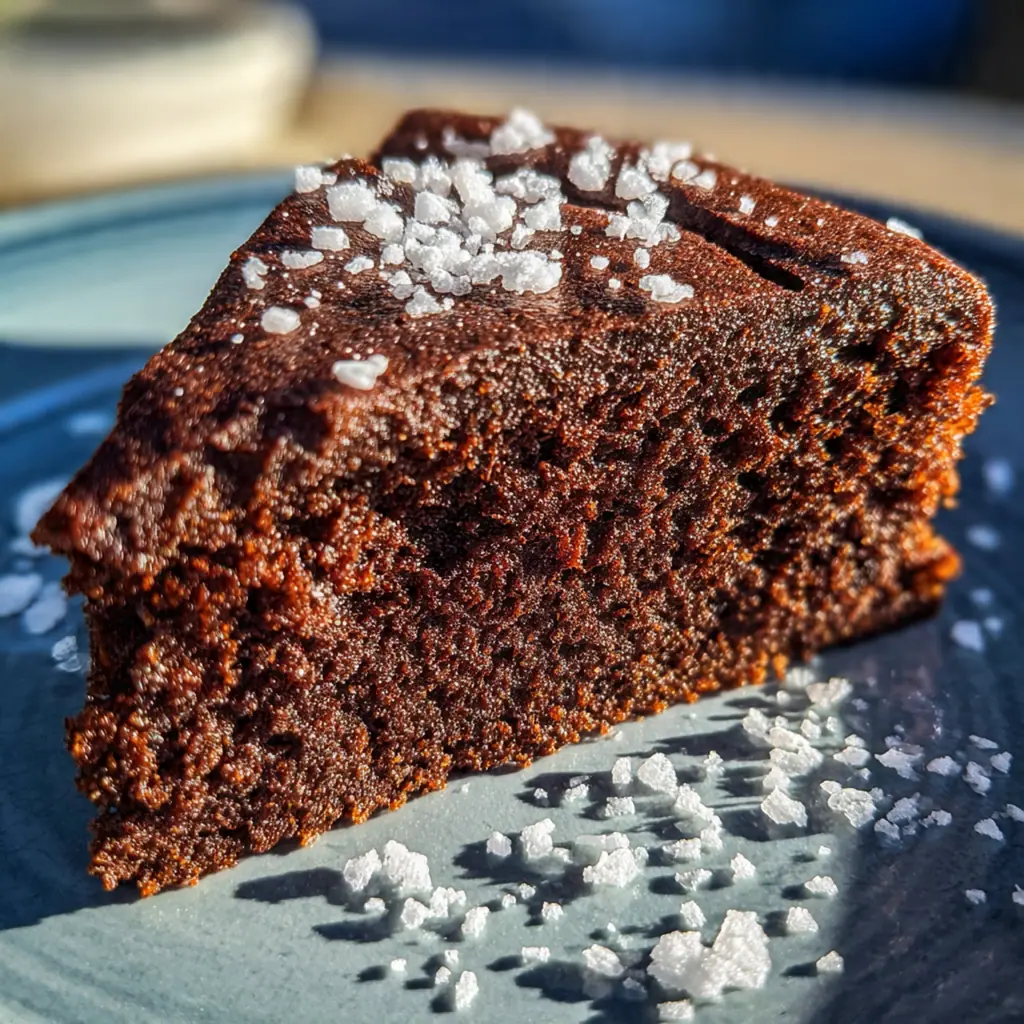
Classic Devil’s food cake is the ultimate chocolate lover’s dream, a deeply rich American classic known for its tender crumb and incredible moisture. This recipe gets its signature flavor from a perfect blend of cocoa, coffee, and buttermilk, creating a dessert that feels both indulgent and surprisingly light. It’s the kind of celebratory centerpiece I turn to for birthdays and holidays because it never fails to impress. That dramatic dark color and fluffy frosting make it a timeless showstopper you’ll want to bake again and again.
Why You'll Love This Recipe
- The coffee makes the chocolate flavor pop without tasting like coffee
- Buttermilk creates an unbelievably moist and tender crumb
- It strikes the perfect balance between rich and light
- A timeless recipe that’s perfect for any gathering
- The dramatic dark color is a stunning centerpiece
- It’s the only devil’s food cake recipe I ever use
Ingredients You’ll Need
- All-purpose flour: provides the structure for a light yet sturdy crumb, make sure you spoon and level it for accurate measuring.
- Unsweetened natural cocoa powder: this is the heart of the flavor, delivering that authentic tangy and deep chocolate note that defines devil’s food cake.
- Baking soda and baking powder: work together for a perfect rise, ensuring your cake layers are tall and beautifully domed.
- Fine sea salt: balances the sweetness and intensifies the chocolate, using fine grain ensures it dissolves evenly throughout the batter.
- Unsalted butter at room temperature: creates a light, fluffy texture when creamed with sugar and lets you control the salt level perfectly.
- Granulated and dark brown sugar: white sugar adds sweetness while brown sugar contributes moisture and a subtle molasses note for complexity.
- Large eggs at room temperature: help bind the batter and add richness, room temp eggs incorporate more smoothly for a better texture.
- Pure vanilla extract: rounds out all the chocolate flavors with a warm, aromatic background note you’d miss if it was gone.
- Buttermilk at room temperature: the secret to that legendary tender crumb and subtle tang, it also reacts with the baking soda.
- Hot strongly brewed coffee: intensifies the chocolate flavor to its maximum potential and thins the batter to the perfect pourable consistency.
- Chocolate Buttercream Frosting: a fluffy, rich cloud of chocolate that complements the cake without overpowering its delicate crumb.
- Chocolate shavings or sprinkles: add a beautiful, professional finish and a little extra textural contrast on top of the frosting.
How to Make It
Preheat and Prep Pans:
Start by preheating your oven to 350°F and greasing and flouring two 9-inch round cake pans. Lining the bottoms with parchment paper circles is my non-negotiable trick for a guaranteed clean release every single time.
Whisk the Dry Ingredients:
In a medium bowl, whisk together the flour, cocoa powder, baking soda, baking powder, and salt. You want to break up any lumps and ensure everything is evenly distributed, which prevents overmixing later.
Cream Butter and Sugars:
In your stand mixer bowl, beat the room-temperature butter until it’s smooth and creamy. Add both sugars and beat on medium-high until the mixture becomes very light and fluffy, which takes about three to four minutes. This step builds the cake’s structure.
Add Eggs and Vanilla:
With the mixer on medium, add the eggs one at a time, beating well after each addition and scraping down the bowl. Then mix in the vanilla extract. This ensures everything is fully emulsified for a uniform batter.
Alternate Dry and Wet Ingredients:
Turn the mixer to low and add the dry ingredients and the buttermilk alternately, starting and ending with the dry ingredients. Mix only until just combined after each addition. The batter will be quite thick at this stage.
Stream in the Hot Coffee:
With the mixer still on low, carefully pour in the hot coffee. The batter will transform from thick to very thin and liquid—this is exactly what you want. Mix just until it’s completely smooth and uniform.
Divide and Bake:
Divide the thin batter evenly between your prepared pans. Bake for 32 to 38 minutes until a toothpick inserted into the center comes out with just a few moist crumbs attached and the tops feel springy.
Cool Completely:
Let the cakes cool in their pans on a wire rack for 15 minutes only. Then, run a knife around the edges, invert them onto the rack, and peel off the parchment. They must be completely cool before you frost them.
Frost and Garnish:
Once the layers are cool, place one on your serving plate and spread a layer of frosting over the top. Add the second layer and frost the top and sides. Finish with a garnish of chocolate shavings for a beautiful presentation.
You Must Know
- Room temperature ingredients are non-negotiable for the best texture
- Use natural cocoa, not Dutch-process, for the authentic flavor
- The batter will be very runny after adding the coffee
- Don’t skip the parchment paper lining
- Let the layers cool fully before frosting
- This devil’s food cake is my go-to for every celebration
Storage Tips
You can store your frosted devil’s food cake, covered at room temperature, for up to two days. For longer storage, pop it in the refrigerator for up to five days, but let individual slices come to room temperature before serving for the best texture and flavor. If you’ve baked the layers ahead of time, you can wrap them tightly in plastic wrap and freeze for up to three months—just thaw them overnight in the fridge before you’re ready to assemble. I find the cake actually tastes even more moist the next day.
Ingredient Substitutions
If you don’t have buttermilk, make a quick substitute by adding one tablespoon of lemon juice or white vinegar to a cup of regular milk and letting it sit for five minutes. For a dairy-free version, use plant-based butter and the same plant milk and vinegar trick for the buttermilk. In a pinch, you can use Dutch-processed cocoa, but know the flavor will be mellower and the rise might be slightly different due to its acidity. The hot coffee is key, but you can use an equal amount of hot water if you prefer, though you’ll lose that flavor-enhancing boost.
Serving Suggestions
I love serving a slice of this devil’s food cake with an ice-cold glass of milk or a cup of black coffee to complement the richness. For a real treat, add a scoop of vanilla bean ice cream on the side—the hot-cold contrast is amazing. Fresh raspberries or strawberries scattered on the plate add a lovely tangy note that cuts through the chocolate beautifully, making each bite feel perfectly balanced.
Cultural Context
This devil’s food cake is a quintessential American dessert, a staple of bake sales, birthday parties, and holiday tables for over a century. Its origin is a bit murky, but it famously emerged as the richer, more chocolaty counterpart to the lighter angel food cake, defined by its use of baking soda and buttermilk for a uniquely tangy, tender crumb. It’s a celebration cake through and through, representing a time when a homemade layer cake was the height of culinary accomplishment and the center of any festive gathering.
Pro Tips
- Use a kitchen scale to divide batter evenly for level layers
- Check for doneness when the cake just starts pulling from the pan sides
- Freeze the cooled layers for 30 minutes before frosting for easy handling
- Sift your cocoa if it’s particularly lumpy
- Cream the butter and sugars for the full time—it’s crucial
- I always do the toothpick test at the 32-minute mark
Frequently Asked Questions
This recipe specifically calls for unsweetened natural cocoa powder (not Dutch-processed). Natural cocoa is acidic and reacts with the baking soda and baking powder to create the cake’s signature tender, open crumb and that classic ‘devil’s food’ flavor. Using Dutch-processed cocoa, which is neutralized, can result in a denser texture and less rise.
Absolutely! This cake’s moisture makes it an excellent candidate for preparing in advance. You can bake and cool the layers completely, then wrap them tightly in plastic wrap and store at room temperature for one day or freeze for up to a month. Frost the cake the day you plan to serve it for the freshest appearance and texture.
If you don’t have buttermilk, you can make a quick substitute. For the 1 cup required, add 1 tablespoon of white vinegar or lemon juice to a liquid measuring cup, then fill it with whole milk to the 1-cup line. Let it sit for 5-10 minutes until slightly curdled. This acidity is crucial for tenderizing the crumb and activating the leavening agents.
The cakes are done when a toothpick inserted into the center comes out with a few moist crumbs attached, not wet batter. The edges will also start to pull away slightly from the sides of the pan, and the top should spring back when gently pressed. Bake for the recommended 35 minutes, then check for these visual cues.
This rich American dessert is fantastic on its own, but you can elevate it with simple pairings. A scoop of vanilla bean ice cream or a dollop of freshly whipped cream provides a lovely contrast. For a coffee accent that complements the cake’s flavor, serve it alongside a freshly brewed cup. A handful of fresh berries also adds a bright, fruity note.