

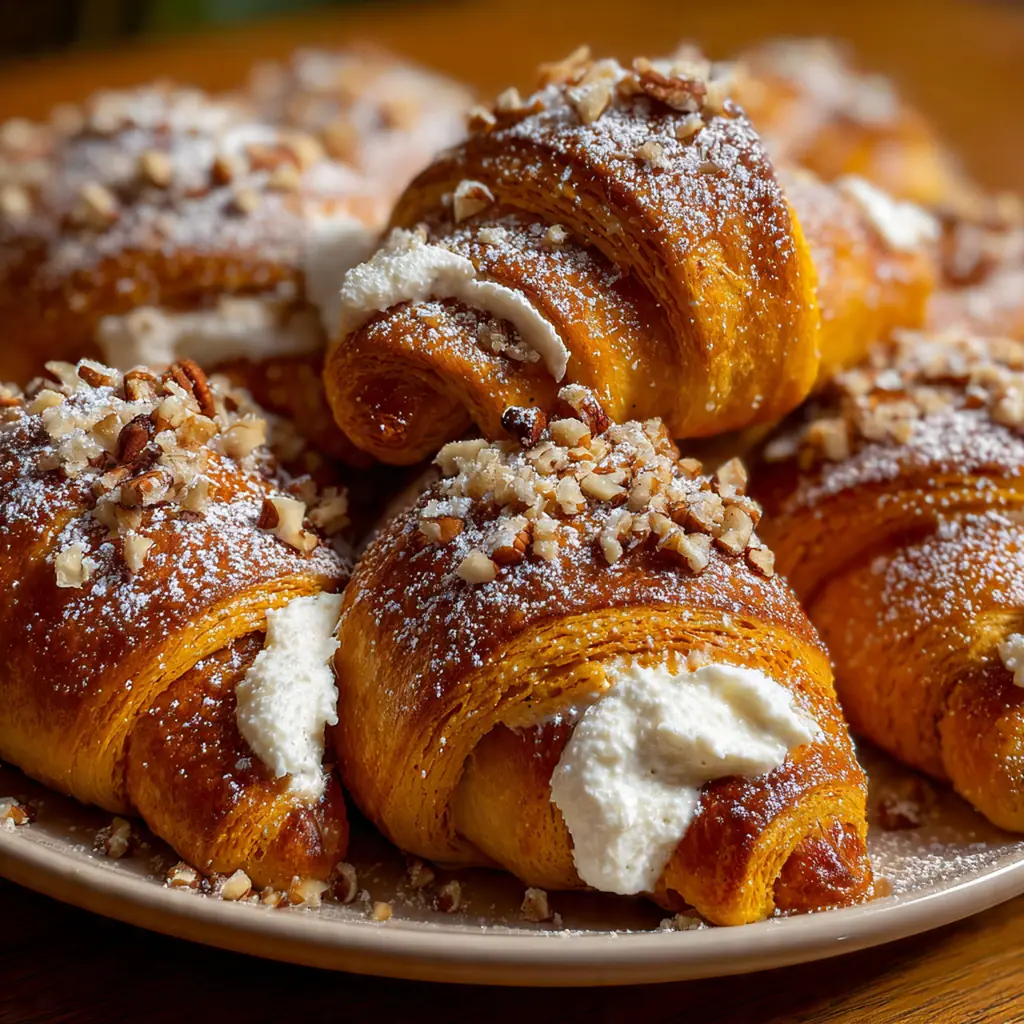
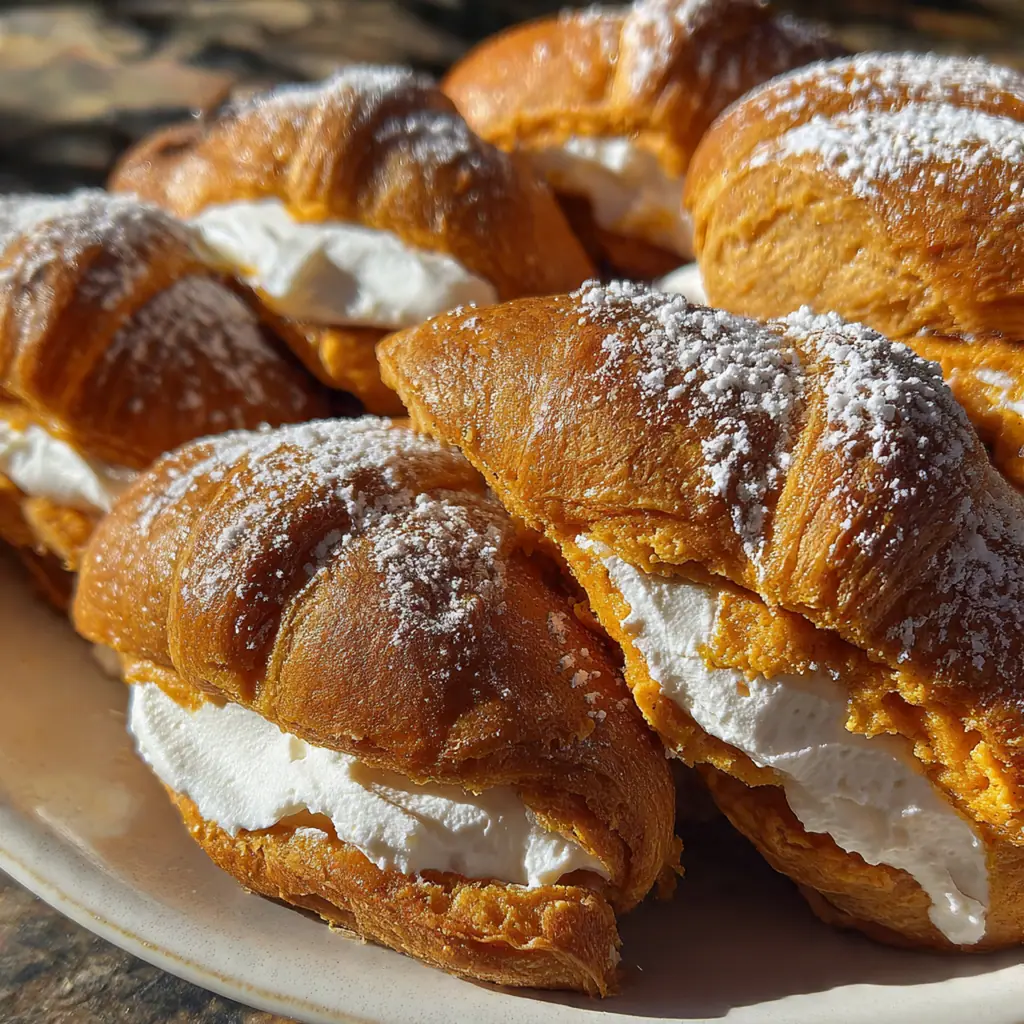
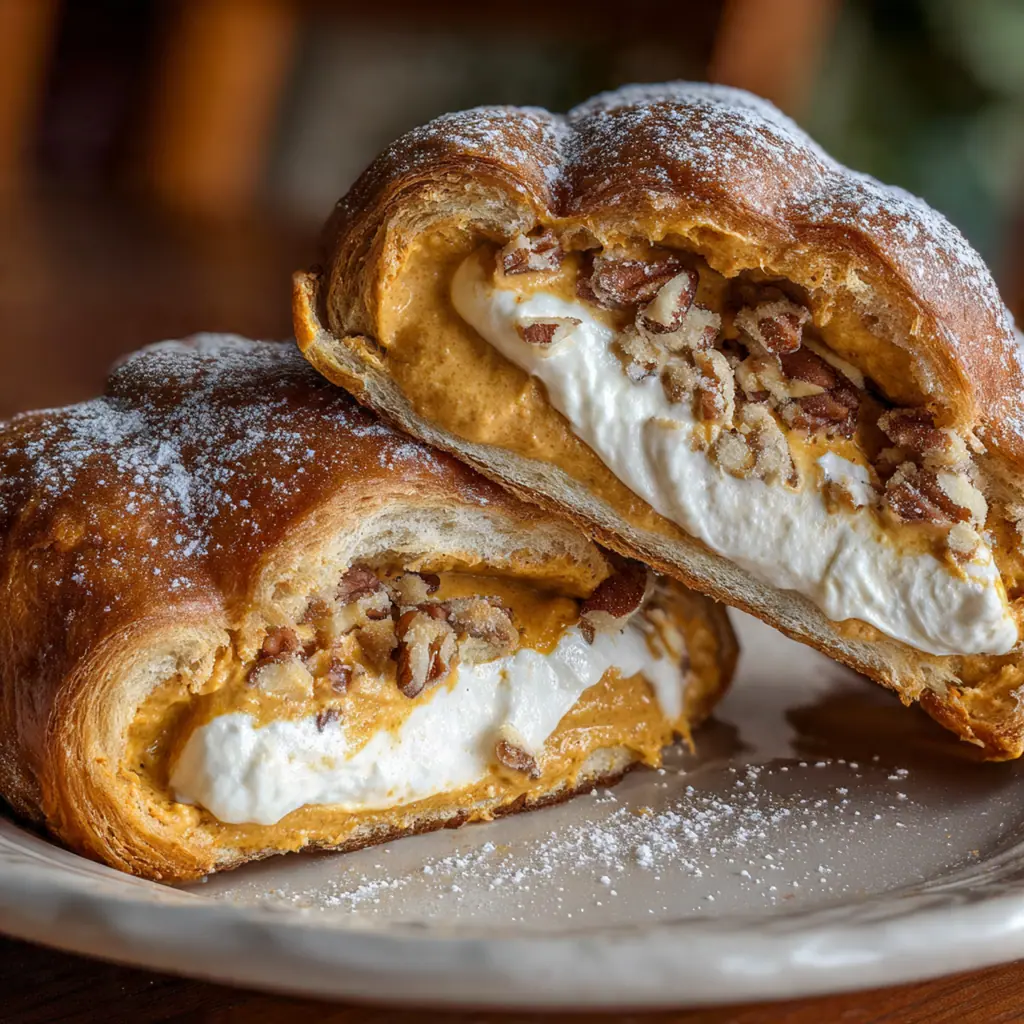
These Crescent Pumpkins with Cream Cheese and Pumpkin Pie Filling are the cute, flavorful pastry that’ll steal the show at your next autumn get-together. They capture that classic fall flavor combo inside a golden, flaky crescent dough shell shaped like little pumpkins. As an American holiday treat, they bridge the gap between simple convenience and impressively homemade. I love how they turn a can of dough into something truly magical and festive for the table.
Why You'll Love This Recipe
- The flaky crescent dough base makes assembly a breeze
- They transform into adorable pumpkin-shaped centerpieces everyone adores
- The creamy cheese and spiced pumpkin filling is pure autumn comfort
- Perfect for holiday parties or a fun weekend baking project
- My family asks for them every Thanksgiving without fail
Ingredients You’ll Need
- Refrigerated crescent roll dough: the convenient flaky foundation that bakes up golden and buttery, look for the seamless sheet version if you can find it to make cutting circles easier.
- Cream cheese: provides a tangy, rich layer that balances the sweet pumpkin, make sure it’s fully softened at room temperature so it blends smoothly without lumps.
- Granulated sugar: sweetens the cream cheese mixture just right, creating that classic cheesecake-like flavor profile we all love.
- Vanilla extract: adds a warm, aromatic depth to the cream cheese filling, pure extract always gives you a better flavor than imitation.
- Pumpkin pie filling: the spiced heart of the pastry, it’s already perfectly seasoned so you don’t need to mix a dozen spices yourself.
- Pumpkin pie spice: a bonus pinch enhances the warm cinnamon and nutmeg notes in the filling, giving it an extra cozy kick.
- Large egg: beaten for an egg wash that creates a beautiful, shiny golden-brown crust on the baked pastries.
- Unsalted butter: melted and brushed on after baking for an irresistible buttery finish and extra flavor.
- Kitchen twine: the secret tool for shaping your dough balls into recognizable pumpkins with perfect sections.
How to Make It
Preheat and Prepare Your Pan:
Start by heating your oven to 375°F and lining a baking sheet with parchment paper. This guarantees easy cleanup and prevents your pastries from sticking, which is crucial for keeping those pumpkin shapes intact.
Mix Your Fillings:
In one bowl, beat the softened cream cheese with granulated sugar and vanilla until it’s completely smooth and creamy. In another bowl, simply stir the pumpkin pie filling with the extra pumpkin pie spice. Setting these up first makes assembly flow smoothly.
Cut and Shape the Dough:
Unroll the crescent dough and press the seams of two triangles together to form rectangles. Use a 4-inch round cutter or a small bowl to cut out neat circles from the dough. You’ll get eight circles total, which become your pumpkin shells.
Fill and Seal the Pastries:
Place a tablespoon of the spiced pumpkin filling in the center of each dough circle. Top it with a teaspoon of the sweet cream cheese mixture. Gently gather the dough edges up and around the filling, pinching firmly to seal it into a smooth ball.
Create the Pumpkin Shape:
Place each ball seam-side down on your prepared baking sheet. Take a piece of pre-cut kitchen twine and tie it around the middle of the ball, then tie another piece perpendicular to create eight sections. This gives them that classic pumpkin look before they even bake.
Bake to Golden Perfection:
Brush the shaped pastries all over with the beaten egg wash for that beautiful color. Bake for 15 to 18 minutes until they’re puffed and a deep, golden brown. The smell in your kitchen will be absolutely incredible.
Finish and Serve:
Carefully remove the baking sheet and use kitchen scissors to snip and remove the twine from each warm pastry. Immediately brush them with the melted butter for a gorgeous sheen and extra flavor. Let them cool for just five minutes before digging in.
You Must Know
- Soak your kitchen twine in water so it doesn’t burn
- Seal the dough ball tightly to prevent filling leaks
- The egg wash is non-negotiable for that golden shine
- Let them cool slightly before removing the twine
- They disappear faster than you can make them
Storage Tips
You can store any leftovers in an airtight container in the fridge for up to three days, though they’re truly best the day they’re made. To bring back some of that fresh-baked magic, reheat them on a baking sheet in a 350°F oven for 5 to 10 minutes until they’re warm and the pastry crisps up again. I always avoid the microwave because it turns the flaky dough soggy in seconds, which is a real tragedy for a pastry this good.
Ingredient Substitutions
If you only have regular pumpkin puree, you can use it but you’ll need to add your own spices – try a mix of cinnamon, ginger, nutmeg, and cloves to match that pie filling flavor. For a dairy-free version, swap in your favorite plant-based cream cheese and use a dairy-free butter alternative for the finishing brush. While gluten-free crescent dough is tricky to find, if you spot it, it should work with the same method, just handle it a bit more gently as it can be less elastic.
Serving Suggestions
I love serving these Crescent Pumpkins warm as a dessert with a big dollop of whipped cream and a generous drizzle of caramel sauce for that extra festive touch. They’re also fantastic with a scoop of vanilla ice cream slowly melting over the top, or simply dusted with powdered sugar for a pretty snowy effect. For breakfast or a coffee break, they pair perfectly with a hot latte or a glass of cold milk, making any morning feel like a special autumn occasion.
Cultural Context
These playful pastries are a modern, convenience-forward twist on classic American fall baking traditions, where pumpkin pie and cream cheese desserts like cheesecake reign supreme. They tap into that beloved holiday spirit of shaping food for celebration, much like decorated sugar cookies or pie crust cutouts. It’s a fun example of how ready-made ingredients like crescent roll dough have been embraced in home kitchens to create impressive, themed treats without the fuss of making dough from scratch, perfect for today’s busy holiday hosts.
Pro Tips
- Soak the kitchen twine for ten minutes to prevent scorching
- Don’t overfill the dough circles to avoid messy leaks
- Rotate your baking sheet halfway for even browning
- Use a round cutter slightly bigger than your filling spoon
- That post-bake butter brush makes all the difference
Frequently Asked Questions
We don’t recommend it for this Crescent Pumpkins recipe. Pumpkin pie filling already contains sugar and spices like cinnamon, ginger, and nutmeg. If you only have puree, you’ll need to add about 1/3 cup of sugar and 2 teaspoons of pumpkin pie spice to match the flavor and sweetness.
Yes, you can assemble them, wrap tightly in plastic, and refrigerate overnight. Just brush with the egg wash and bake them fresh the next day for the best flaky texture. You can also freeze the unbaked pastries on a sheet pan, then transfer to a bag; bake from frozen, adding 2-3 extra minutes.
If you don’t have kitchen twine, you can use untreated dental floss or even make shallow cuts with kitchen shears to create the pumpkin sections. The goal is to indent the dough without cutting all the way through to the filling, so the pastries bake into a unified, pumpkin-like shape.
The crescent pumpkins are done when they’re puffed and a deep, golden brown all over, which takes about 16-18 minutes in a preheated oven. The filling should be set and hot. Let them cool for 5 minutes on the baking sheet before carefully removing the twine and serving.
These sweet pastries are perfect as a dessert or brunch item. Serve them warm with a dusting of powdered sugar, a drizzle of caramel sauce, or a side of whipped cream. They pair wonderfully with coffee, spiced cider, or as part of a larger Thanksgiving dessert spread alongside pecan pie.