


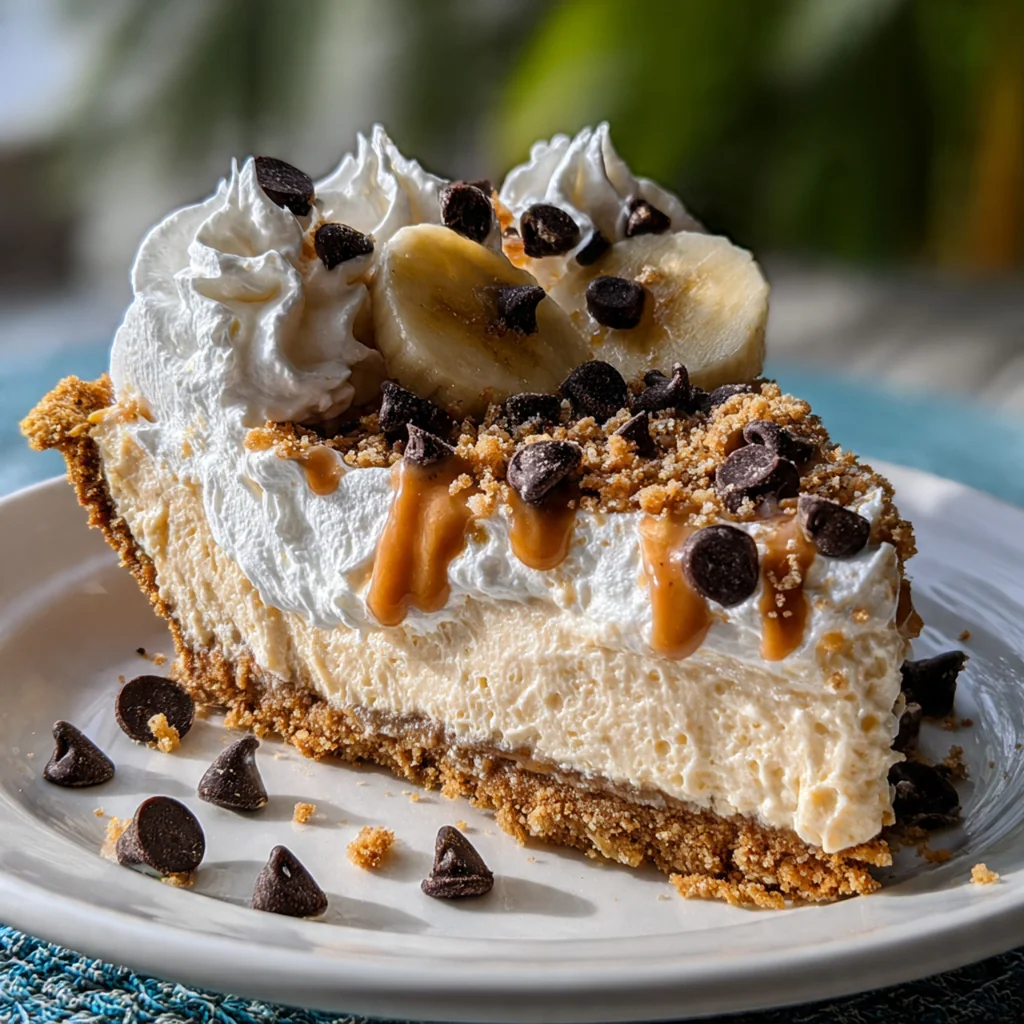
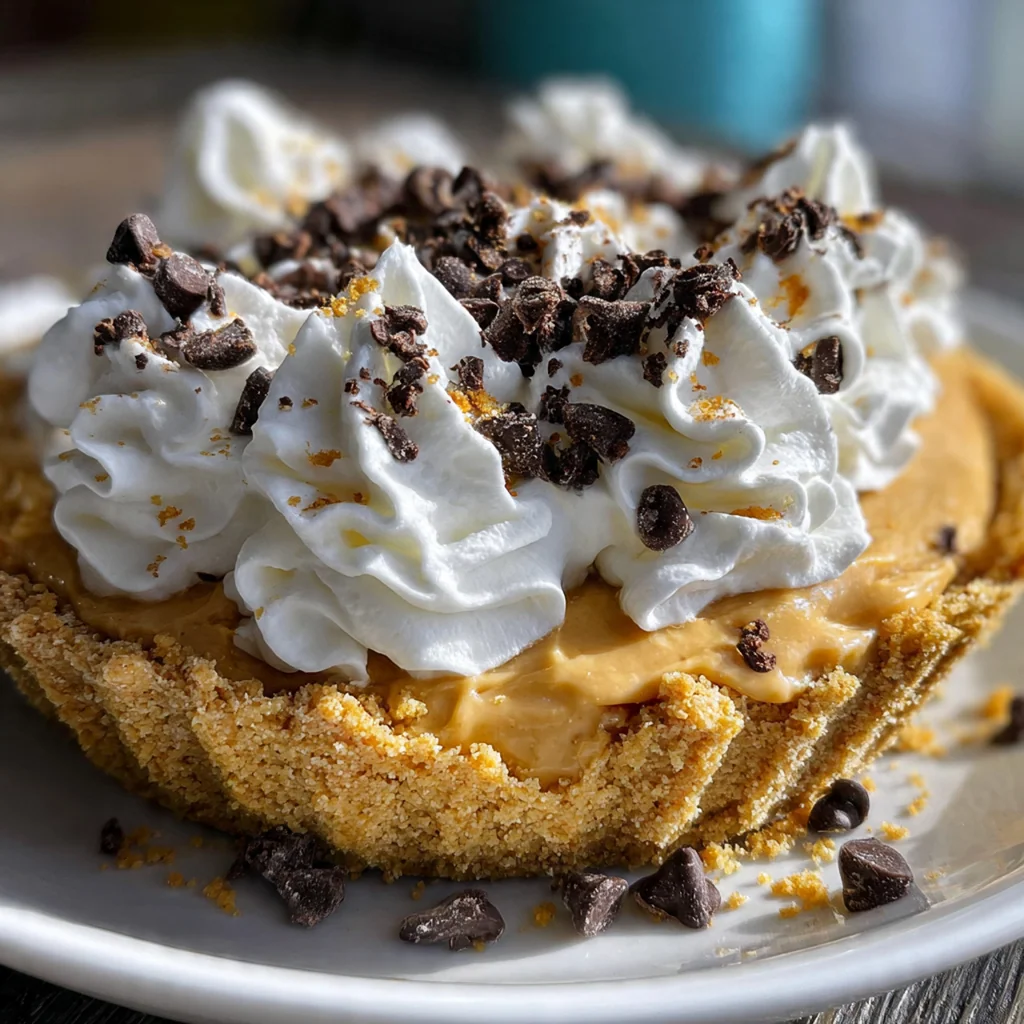
This classic no-bake peanut butter pie recipe is the ultimate solution for a fuss-free, show-stopping dessert. It’s a quintessential American treat that combines a rich, creamy peanut butter filling with a crunchy chocolate crust, requiring zero oven time. I love how it simplifies entertaining, letting you focus on your guests instead of the stove. You get a dessert that feels incredibly indulgent yet comes together with straightforward, familiar ingredients you probably already have in your pantry.
Why You'll Love This Recipe
- It’s completely no-bake, perfect for hot days or when your oven is occupied
- You get that dreamy, creamy peanut butter flavor everyone craves in a dessert
- It uses simple ingredients you can find at any grocery store
- You can make it a full day ahead, taking the stress out of party planning
- Honestly, it disappears faster than any dessert I bring to a gathering
Ingredients You’ll Need
- Chocolate cookie crumbs: They create the perfect sweet and slightly salty base that contrasts the creamy filling. Using pre-packaged crumbs saves time, or you can pulse whole cookies in a food processor.
- Unsalted butter: Melted butter acts as the glue for your crust, helping the crumbs stick together into a firm shell. Using unsalted lets you control the overall saltiness of your pie.
- Cream cheese: This is the secret to a rich, stable, and sliceable filling that doesn’t weep. Make sure it’s truly softened to room temperature for a perfectly smooth texture without any lumps.
- Creamy peanut butter: Go for a standard processed brand here, not the natural kind that separates. Its consistent texture and sweetness give you a reliably creamy and stable peanut butter pie filling.
- Powdered sugar: It sweetens the filling without any graininess, dissolving instantly into the cream cheese and peanut butter mixture for a silky-smooth consistency.
- Vanilla extract: A splash of pure vanilla rounds out all the sweet and salty notes, adding a warm, complex background flavor that makes the pie taste homemade.
- Heavy cream: Whipping cold heavy cream introduces air and lightness, transforming the dense peanut butter mixture into a mousse-like cloud. The higher the fat content, the better it whips.
- Granulated sugar: A little granulated sugar sweetens the whipped cream itself, helping to stabilize it and giving it a slight structure before you fold it in.
How to Make It
Prepare the Chocolate Crust:
Start by mixing your chocolate cookie crumbs with the melted butter until every crumb is evenly coated and looks like wet sand. Press this mixture firmly and evenly into the bottom and up the sides of your pie plate. A flat-bottomed glass or measuring cup helps create a compact, even layer. Chilling this crust while you make the filling is a non-negotiable step—it sets the shape and prevents sogginess.
Mix the Cream Cheese Base:
In your large bowl, beat the softened cream cheese with an electric mixer on medium speed until it’s completely smooth and fluffy, with no lumps remaining. This usually takes a good two minutes, and scraping down the sides of the bowl halfway through is a smart move. A smooth base here ensures your entire peanut butter pie filling will be luxuriously creamy.
Combine Peanut Butter and Sugar:
Add the creamy peanut butter, powdered sugar, and vanilla extract directly to the whipped cream cheese. Beat everything together on medium-low speed until it’s fully incorporated and you have a thick, uniformly colored mixture. Scrape the bowl again to catch any hidden pockets of cream cheese or sugar for a perfectly homogenous filling.
Whip the Heavy Cream:
Pour your cold heavy cream into a separate, clean bowl and add the granulated sugar. Using your mixer’s whisk attachment or clean beaters, whip on high speed until stiff peaks form. This means the cream will hold its shape when you lift the beaters. Be careful not to over-whip, or you’ll start making butter.
Fold Everything Together:
This is the key to a light texture. Add about a third of the whipped cream to the peanut butter mixture and gently fold it in with a spatula to loosen it up. Then, carefully fold in the remaining whipped cream just until no white streaks remain. You want to keep as much of that air in as possible.
Assemble and Chill:
Retrieve your chilled crust from the refrigerator. Pour the lightened peanut butter filling into the crust and spread it into an even layer with your spatula. Cover the pie plate tightly with plastic wrap, pressing it directly onto the surface of the filling to prevent a skin from forming. Refrigerate for at least four hours, though overnight is truly best for a perfectly set slice.
Add Optional Toppings:
Right before serving, you can dress up your peanut butter pie. Whip a little extra cream for dollops, warm up some chocolate sauce for a drizzle, and chop some peanuts for a crunchy garnish. This step is totally optional but makes for a beautiful presentation.
Slice and Serve:
For the cleanest slices, dip a sharp knife in hot water and wipe it dry before each cut. This helps the knife glide smoothly through the creamy filling without sticking. Serve each slice cold, ideally with any of those delicious toppings you prepared.
You Must Know
- Use processed creamy peanut butter, not the natural kind
- Your cream cheese must be fully softened at room temperature
- Chill the crust before adding the filling every single time
- A hot knife is the secret to perfect slices
- It’s worth the wait to let it set overnight
Storage Tips
Store your finished peanut butter pie covered tightly with plastic wrap or in an airtight container in the refrigerator, where it will stay perfect for up to five days. For longer storage, you can freeze the whole pie or individual slices; wrap it tightly in a couple layers of plastic wrap and then aluminum foil to prevent freezer burn, and it will keep for about a month. Thaw it overnight in the fridge before you plan to serve it, and the texture will be just as good as the day you made it.
Ingredient Substitutions
If you need a gluten-free version, simply use your favorite gluten-free chocolate sandwich cookies to make the crumb crust—they work exactly the same way. For a dairy-free peanut butter pie, swap the cream cheese for a dairy-free block-style alternative and use a coconut-based whipping cream or a prepared dairy-free whipped topping. In a pinch, you can use graham cracker crumbs instead of chocolate cookie crumbs for the crust; you’ll still get a great texture, just with a different, honeyed flavor profile that pairs nicely with the peanut butter.
Serving Suggestions
I love serving each slice with an extra dollop of freshly whipped cream and a generous drizzle of chocolate sauce for a classic diner-style presentation. A sprinkle of flaky sea salt on top just before serving can also elevate all the sweet and salty flavors beautifully. For a full dessert spread, pair a slice with a small scoop of vanilla ice cream or a cup of strong, cold brew coffee to cut through the richness—it’s a combination that never fails to please.
Cultural Context
This no-bake peanut butter pie recipe is a beloved staple of American potlucks and family reunions, particularly in the South and Midwest where rich, comforting desserts reign supreme. It sits right alongside other classic no-bake treats like refrigerator cakes and icebox pies, which became especially popular in the mid-20th century as refrigerators became commonplace household appliances. The genius combination of peanut butter and chocolate is a timeless American flavor partnership, celebrated in everything from candy bars to cookies, and this pie is perhaps its most luxurious and shareable form. It’s the dessert you bring when you need a guaranteed crowd-pleaser that requires minimal effort for maximum reward.
Pro Tips
- Let the cream cheese sit out for a full hour to soften
- Freeze the pie for 2 hours if you’re in a serious time crunch
- Dip your knife in hot water for flawlessly clean slices every time
- A stand mixer makes whipping the heavy cream effortless
- I always make it the night before for the best texture
Frequently Asked Questions
For the creamiest and most stable filling, use a commercially prepared creamy peanut butter. Natural peanut butters that separate can make the filling too oily and prevent it from setting properly. The recipe calls for creamy peanut butter, so avoid chunky varieties if you want a smooth texture.
Absolutely! This pie is an excellent make-ahead dessert. You can prepare it up to 2 days in advance and store it covered in the refrigerator. For longer storage, you can freeze the pie for up to 1 month.
If you don’t have chocolate sandwich cookies, you can use graham crackers or any similar cookie. For every 1 1/2 cups of cookie crumbs, you’ll need about 20 cookies. Simply process them into fine crumbs and mix with the melted butter as directed.
The pie needs to chill in the refrigerator for at least 4 hours, or until it is completely set. You can check by gently shaking the pan; the center should not jiggle. For best results, let it chill overnight.
This rich pie is delicious on its own, but you can enhance it with a dollop of whipped cream, a drizzle of chocolate sauce, or a sprinkle of chopped peanuts. It pairs wonderfully with a cup of coffee or a glass of cold milk.